



- Key Takeaways: Genius Weft Install and Care
- Color Selection: Color the Natural Hair into the Desired Base Color that's Extension-Ready
- Cut the Hair to a Suitable Length for the Genius Weft Extensions
- How Do You Dilute the Hair for a Perfect Color Match?
- How Do You Install Genius Weft Hair Extensions?
- How Do You Take Care of Genius Weft Hair Extensions at Home?
- What Did I Use Exactly for Sasha's Full-Head Coverage?
- The Final Look — and Why It Matters
- About the Author
- FAQs
Genius Weft Install: A Hair Professional’s True Experience from Hair Preparation, Coloring, to Installation, and Then to Caring Tips
- Key Takeaways: Genius Weft Install and Care
- Color Selection: Color the Natural Hair into the Desired Base Color that's Extension-Ready
- Cut the Hair to a Suitable Length for the Genius Weft Extensions
- How Do You Dilute the Hair for a Perfect Color Match?
- How Do You Install Genius Weft Hair Extensions?
- How Do You Take Care of Genius Weft Hair Extensions at Home?
- What Did I Use Exactly for Sasha's Full-Head Coverage?
- The Final Look — and Why It Matters
- About the Author
- FAQs
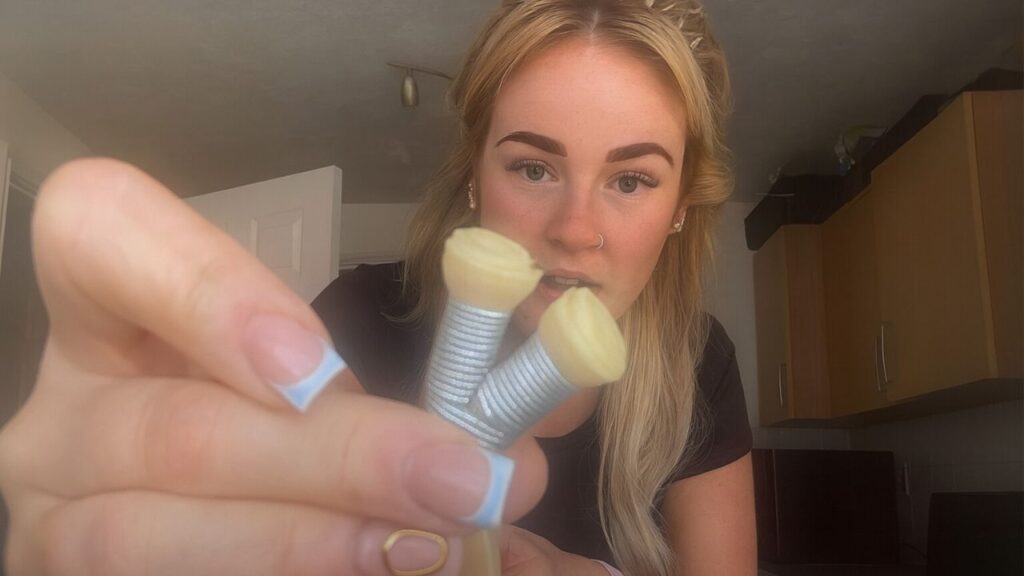
Think: the silky texture and luxe finish of hand-tied wefts — but with way more freedom in styling and customization. Her name is Genius Wefts.
These babies can be cut anywhere along the spine without fraying. All you need to do is enjoy the total freedom to tailor every install like a true artist. No rules, no limits — just smooth, seamless magic.
Now let’s talk shop — I’m Megan Turner, a seasoned extension specialist with over 15 years of experience behind the chair.
Today, I’ll walk you through one of my favorite transformations using blonde Genius Weft Extensions on my client, Sasha Jones. From prepping and placement to color blending and finishing touches, I’ll share the exact techniques I use — plus a few of my go-to styling secrets.
Bonus: I’m also spilling my favorite home care tips you can pass along to your clients, so their extensions stay stunning between appointments — and you stay their forever favorite.
Key Takeaways: Genius Weft Install and Care
- Blonde Genius Wefts should be color-matched and toned before installation when the factory shade is too bright or warm.
- A soft root tap can help bright blonde extensions blend more naturally than a heavy root drag.
- Genius Wefts can be cut along the track without fraying, which gives stylists more control over row width and placement.
- A beaded sew-in foundation works well when the beads are secure but not tight.
- The hidden bead method can help clients wear more lifted or flexible styles.
- Aftercare matters: gentle brushing, sulfate-free shampoo, careful conditioning, full drying, and low heat all help extend the life of the install.
Color Selection: Color the Natural Hair into the Desired Base Color that’s Extension-Ready
Sasha’s a blonde Barbie at heart. Always has been. She loves being blonde. Her natural hair? Dark brown. But the moment those roots start showing, she’s texting me like it’s an emergency.
This time, she wanted to go even lighter. With her natural roots already peeking through her center parting, I needed something that would blend well and boost her features.
So I recommended ashy blonde as the photo she sent in — it adds that touch of elegance that flatters her round face and balances the warmth in her natural color.
Her friends were pushing for a root drag, but I knew that might look too heavy with this tone. So instead, I suggested a soft root tap — just enough depth to avoid that “blocky” regrowth line, but still seamless.
And boom — Decision made. I colored it into the ashy blonde on a root-tap. So her Genius Wefts could fit better for an overall well-stacked appearance.
Cut the Hair to a Suitable Length for the Genius Weft Extensions
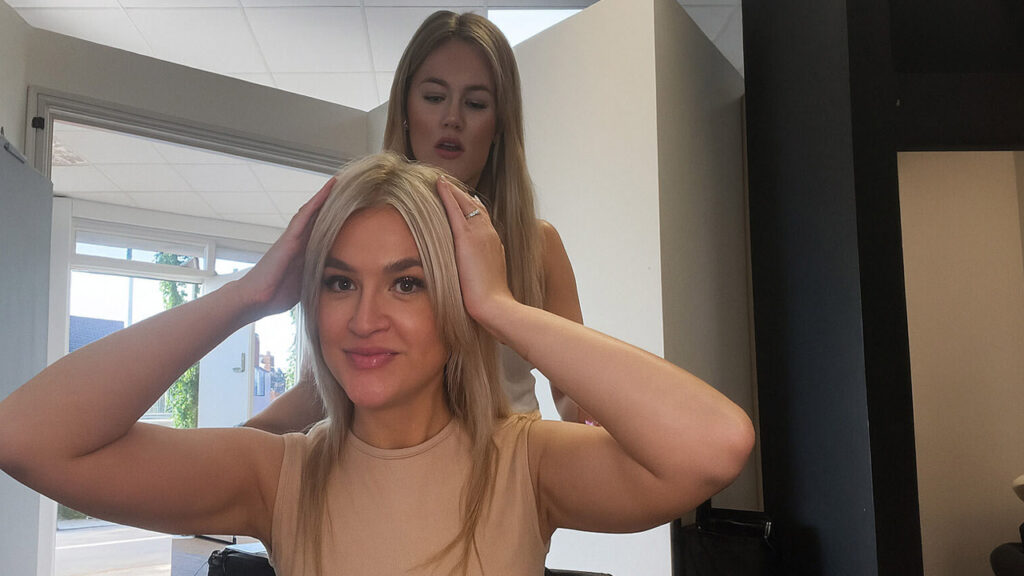
We agreed on using three packs of 20″ blonde Genius Weft Hair Extensions, and the current length of her natural hair was about the same already, and curled. If I add the wefts to her existing hair just like that, surely it’d look bulky. So I had to cut her hair shorter.
“I’m scared to have these out,” said Sasha when I was about to land my scissors on her wavy blonde hair. Apparently, blonde lovers usually don’t just love their hair to be blonde, but long, too. I reassured her that she was going to get her 20-inch Genius Wefts Extensions by Friday. And so she let me cut.
I did. I cut her hair into shoulder-length with some layers towards the ends, so the hair is tapered. By the time we get the wefts attached, it should look just the right volume.
How Do You Dilute the Hair for a Perfect Color Match?
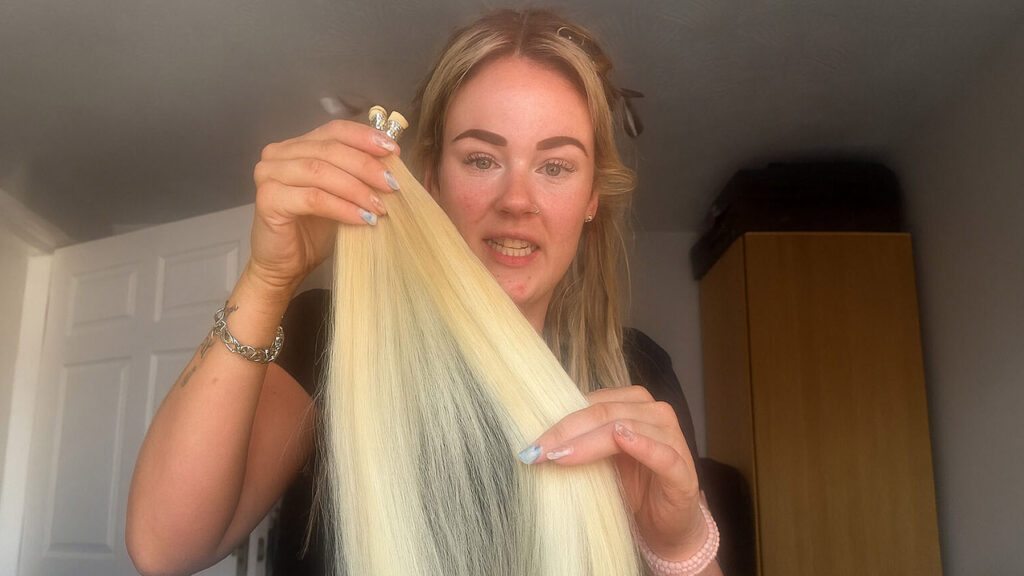
I ordered 3 packs of blonde Genius Weft Hair Extensions from Newtimes Hair in the color of very light blonde (#613). I have to say, they are the best Genius Weft Hair Extensions. As a type of professional Remy hair extensions, their color looks great. However, to match Sasha’s desired color perfectly, I’ll have to tone it down a bit.

Step 1: Fill up a Tube with Hot Water
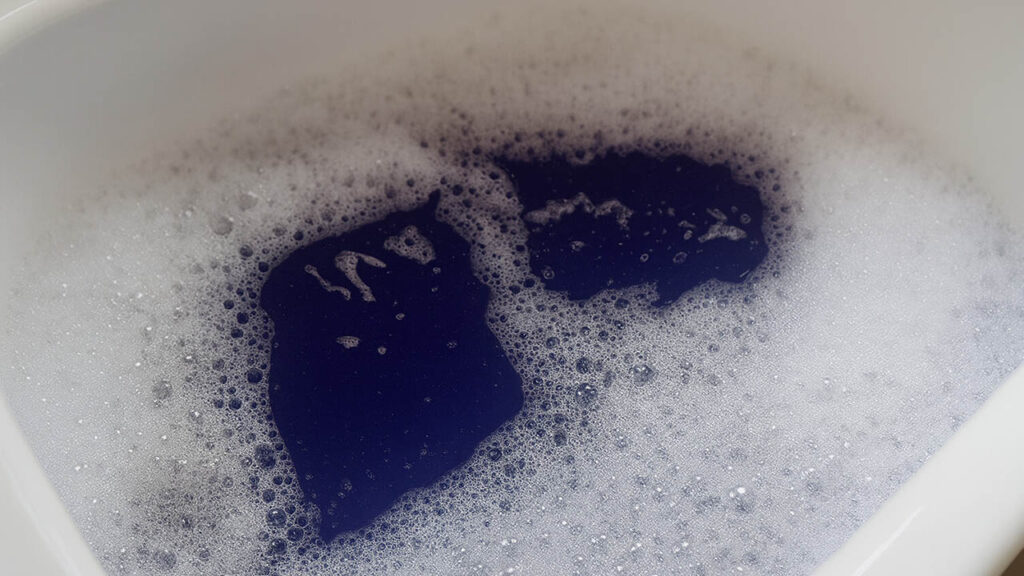
Fill up your tub with hot water (not boiling, but just hot water from the tap will be fine).
Step 2: Apply Purple Shampoo
Give 10-12 punches of Moroccan purple shampoo into the water, and mix it for the shampoo to dissolve in the water and spread.

Step 3: Tone down the Genius Wefts
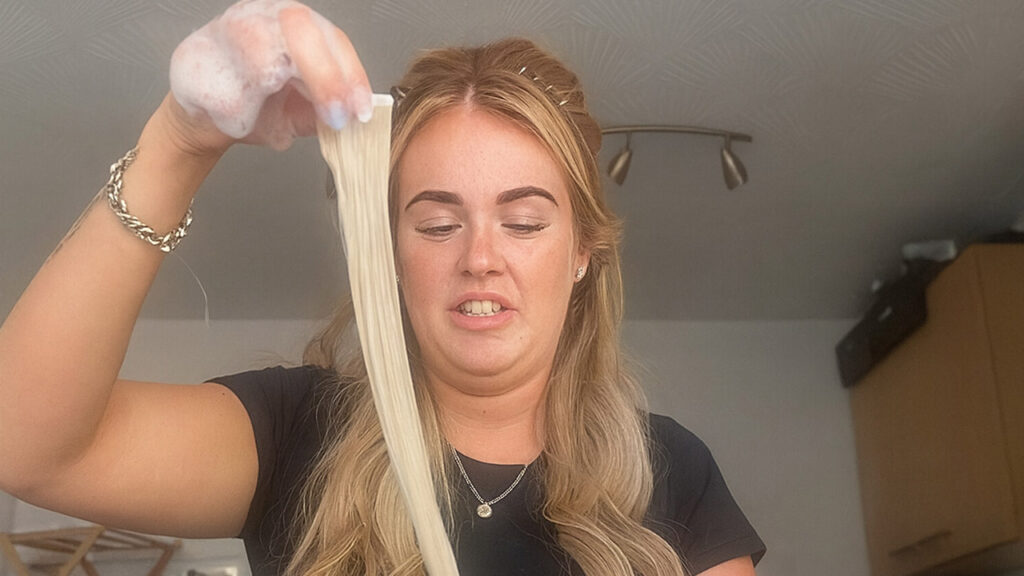
Simply hold the track of each extension, dip it in the water, pull it out, and repeat till the color is ideal. Do this piece by piece.
Step 4: Squeeze the Water Out
Gently squeeze the water out. Open the hair so it doesn’t stick in one place.
Step 5: Leave the Hair to Dry
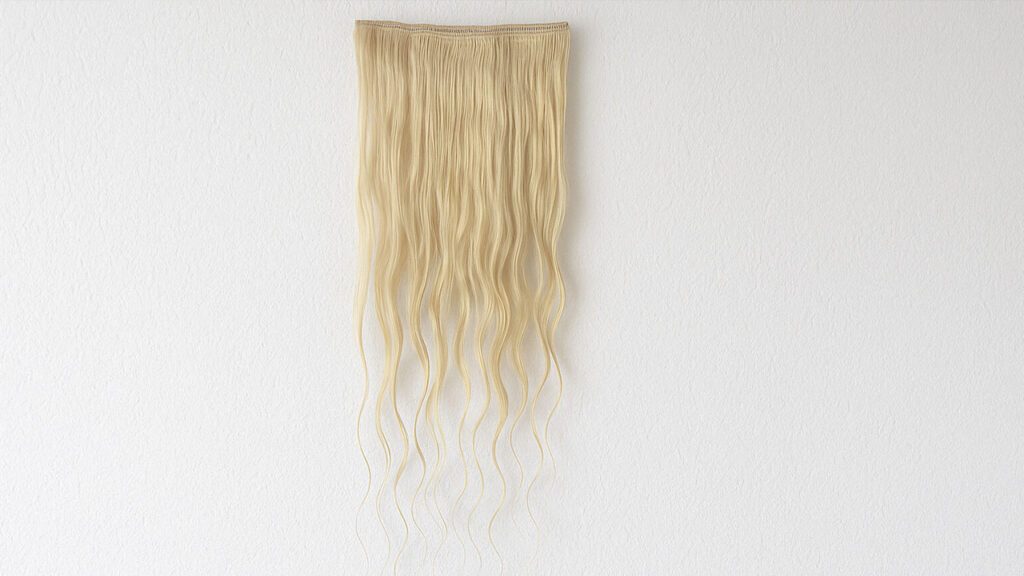
Leave the hair to air dry; all set for the install.
How Do You Install Genius Weft Hair Extensions?
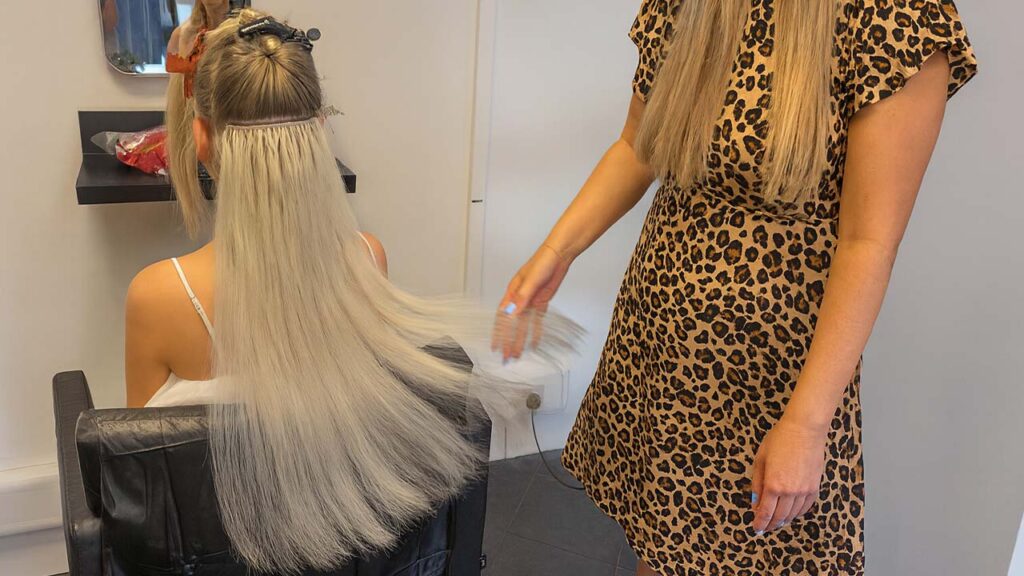
I used the standard sew-in hair extensions method: create a foundation using microbeads and then sew the Genius Weft Extensions onto the beaded foundation.

Step 1: Prepare the Client’s Hair
Wash and dry her natural hair completely and make sure no conditioner or oily products are near the roots.
Step 2: Brush and Untangle the Hair
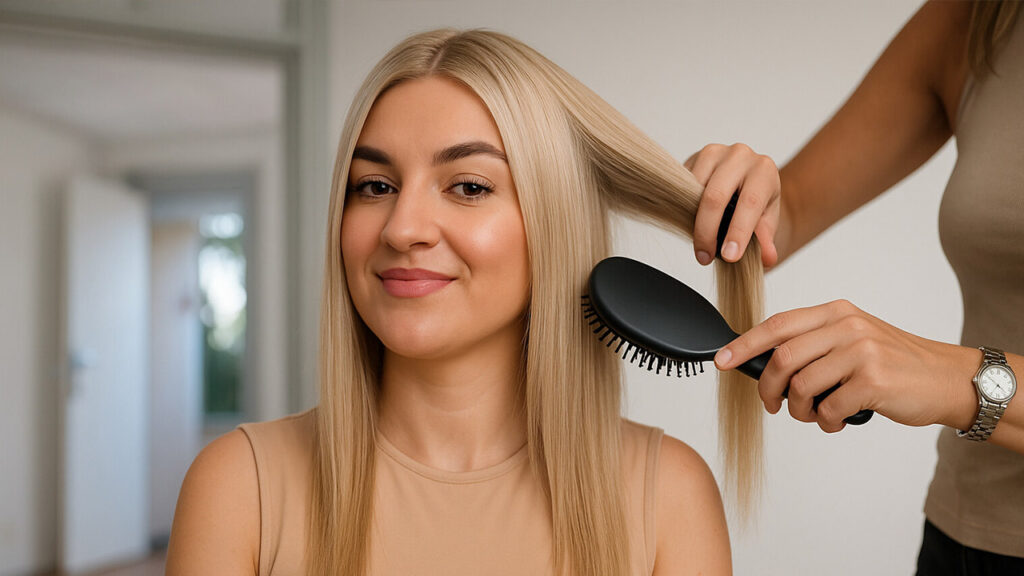
Then, brush through her natural hair to remove all tangles.
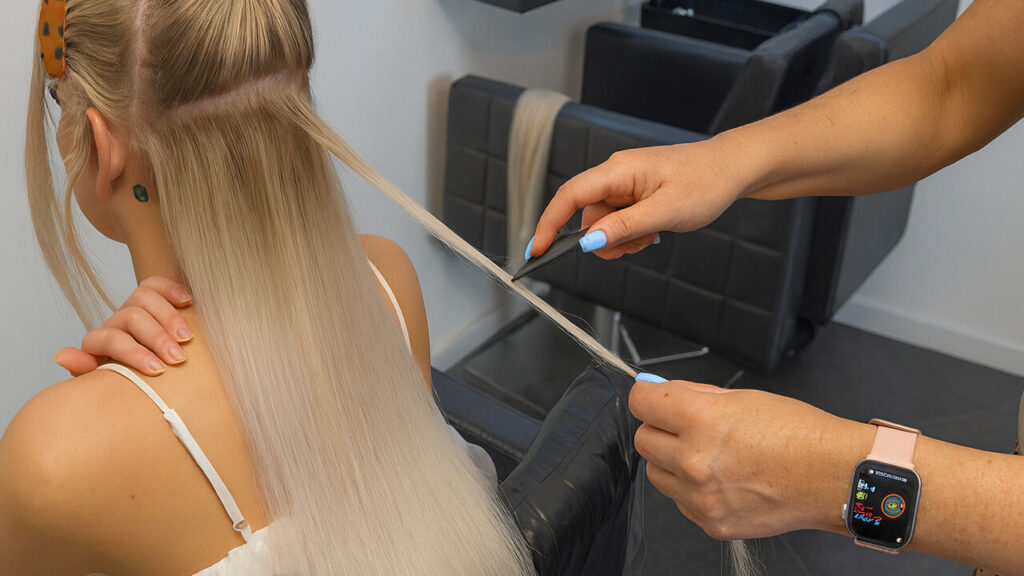
Step 3: Section the Hair
Create a clean horizontal part where the first row will sit (usually 1–2 inches above the nape). Clip away the upper hair so that you leave only the section you will be working on.
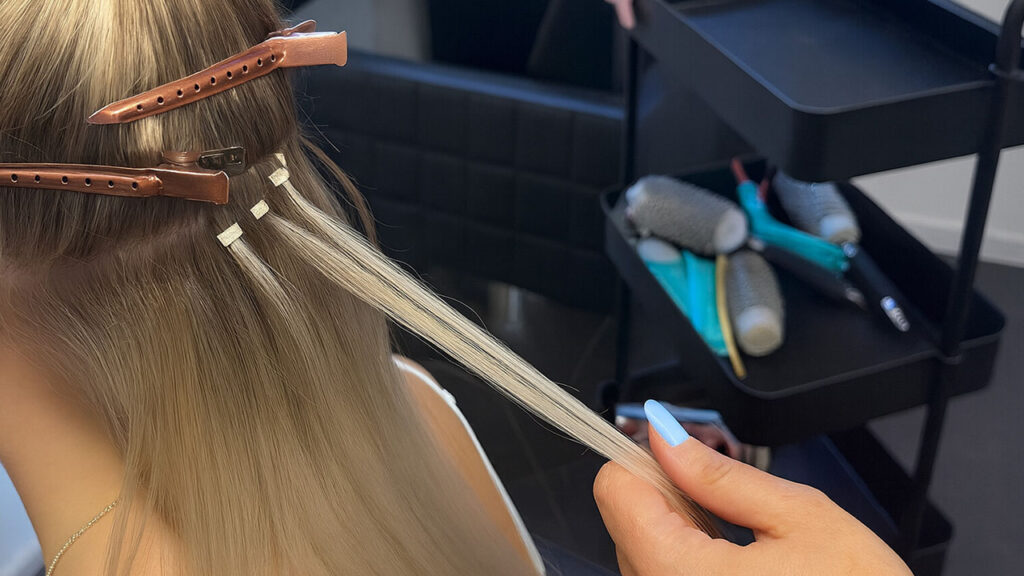
Step 4: Install the Beads to Create a Beaded Foundation
Thread silicone-lined microbeads onto a pulling loop or hook. Take small, even strands of her natural hair along the parting line. Insert each strand through the bead hole, and position it close to the scalp (without pulling). Clamp each bead tightly with the pliers to secure it to the hair. Continue across the entire head, keeping bead spacing consistent.
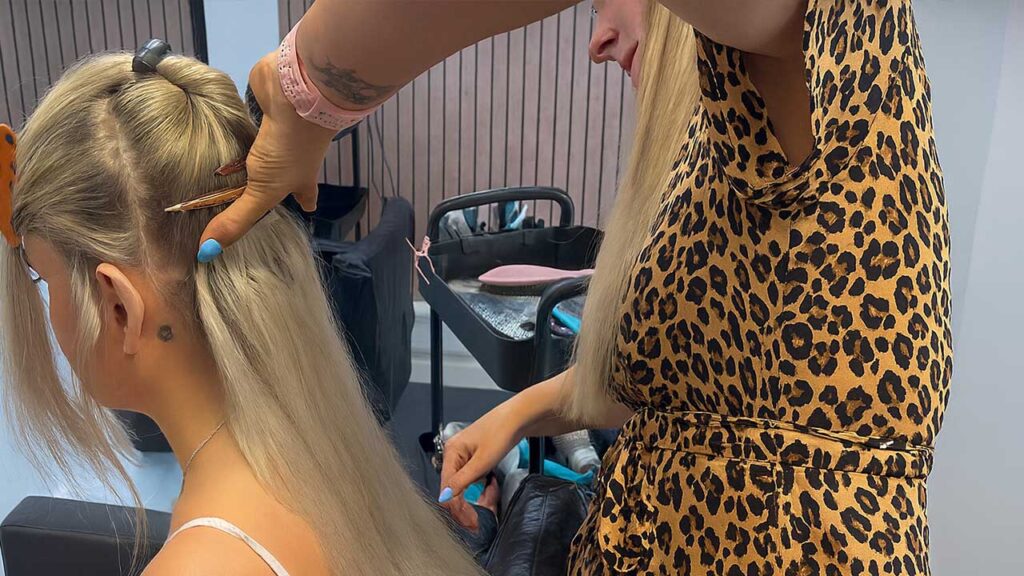
Step 5: Attach the Genius Weft
Measure the weft against the beaded track and cut to size — Genius Wefts can be cut anywhere along the spine without fraying.
Lay the weft flat against the beads.
Secure the weft with a looping or blanket stitch. Pass the needle through each bead and over the weft to firmly anchor it in place. Use a thread that’s the same color as her natural hair.
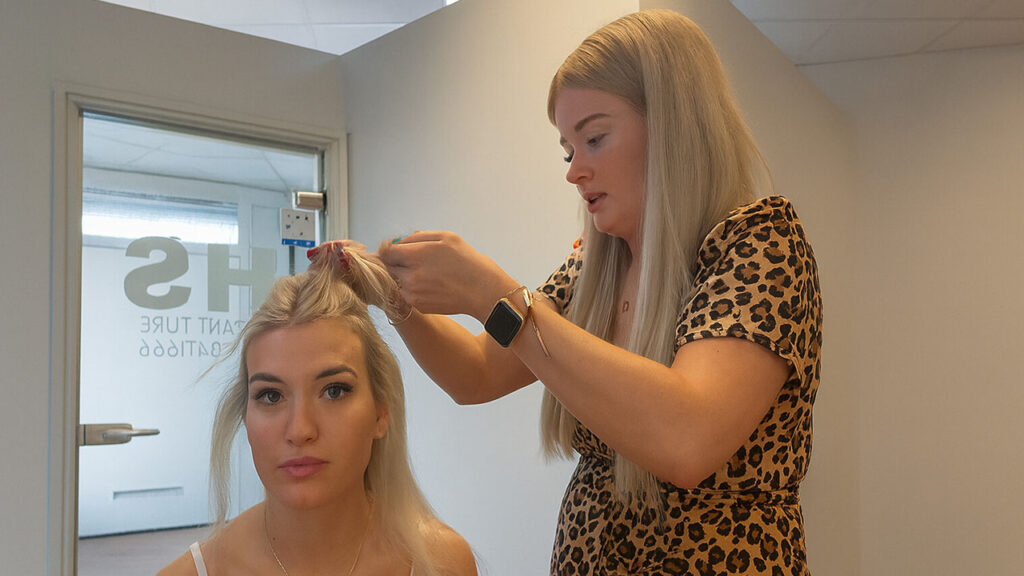
Step 6: Secure and Blend
Double-stitch at the ends for extra hold.
Once all rows are in, release the upper hair and blend with shears or a razor for a seamless transition.
Step 7: Final Check
Ensure there’s no tension or pulling at the scalp.
Hidden Tip Method: Genius Wefts allow you to hide the beads completely. For each row of hair, you are planning to set a beaded foundation; instead of sewing one weft, sew two to sandwich the row, so that all the beads will get well hidden (just like the famous IBE Method), even if you lift the hair. This will give you much flexibility in styling the hair. Check out our video tutorial for the complete process.
How Do You Take Care of Genius Weft Hair Extensions at Home?
Genius Weft Hair Extensions offered at Newtimes Hair are made with premium 100% Remy human hair, so they need the same TLC you’d give to your natural hair for them to last as long as they can.
If you are a stylist, be sure to pass these caring tips to your client as homework.
1. Brushing & Detangling
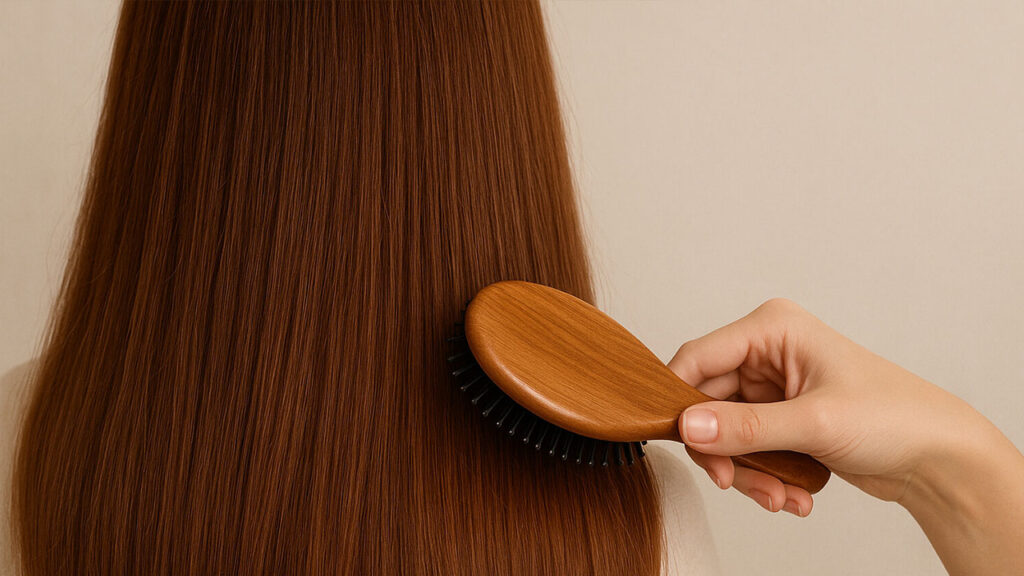
- Brush the hair before washing and right before and after bed.
- Use a soft-bristle brush, which is gentle on the hair.
- Start from the ends toward the roots, holding the weft base, so the natural hair doesn’t get pulled.
- To keep the bond secure, do not brush near the roots where the beads and wefts are attached.

2. Washing
- The hair should be washed regularly, but no more than twice a week, as too much washing may dehydrate or decolor the hair.
- Always use sulfate-free, alcohol-free shampoos on the hair, as sulfate or alcohol will strip away the moisture and color from the hair.
- Rinse the hair with lukewarm water and never use super hot water as it can weaken the bonds and the extension spine.
- Apply shampoo gently on the scalp, avoiding rough scrubbing around the weft area.
Megan’s Tip: Avoid using a cleansing shampoo, as it can dehydrate the hair, leaving it feeling like straw, and it will also strip its colors. Instead, use a nourishing shampoo specifically designed for hair extensions.
3. Conditioning & Treatments
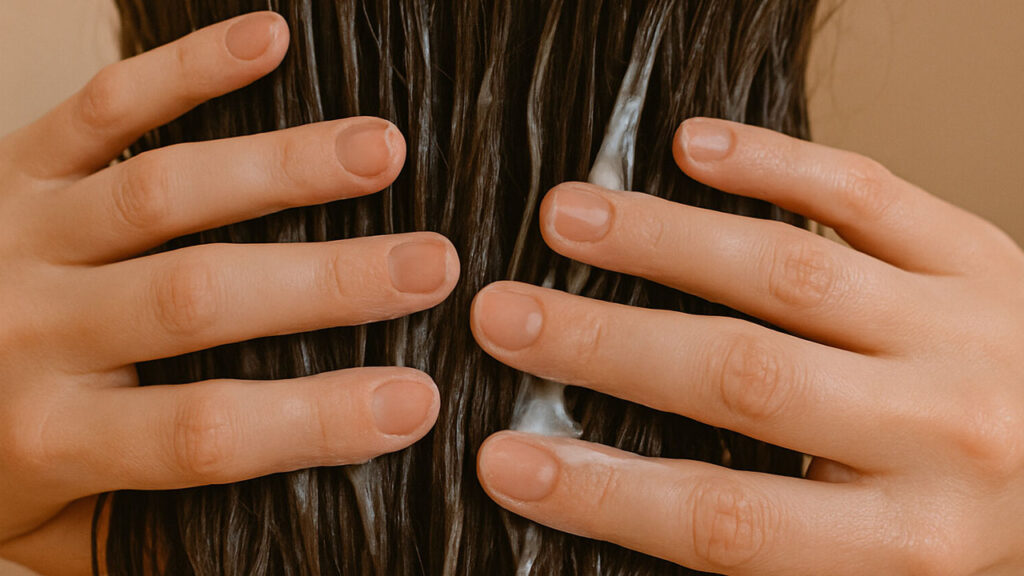
- Condition the hair from mid-length to the ends — never directly on the beads or the spine of the weft, as it will loosen the stitching.
- Apply a deep conditioning mask once a week to keep the Remy hair smooth and silky.
- For extra shine and smoothness, apply a small amount of argan oil or serum to the hair ends after washing.

4. Drying
- Gently pat hair with a microfiber towel — avoid rubbing.
- If blow-drying, use the cool or low-heat setting and apply a heat protectant.
- Always dry the weft and bead area thoroughly to prevent moisture buildup.

5. Styling
- When heat-styling the hair, always use a heat protector (or heat protectant).
- Keep hot tools at 180°C / 350°F or below to avoid damage.
- To ensure a long lifespan of the hair extensions, never use high heat too often.

6. Sleeping
- Never sleep with wet hair.
- To avoid tangling, braid the hair loosely or into a ponytail before bed.
- Use a silk or satin pillowcase to minimize friction and avoid tangling.

7. Swimming & Activities
- Chlorine and saltwater can dry out the Remy hair. Put on a swim cap, do your hair up before you dive, and rinse your hair immediately after swimming.
- Put on a leave-in conditioner before swimming for extra protection.
Related: A Full Guide to Hair Extension Care
What Did I Use Exactly for Sasha’s Full-Head Coverage?
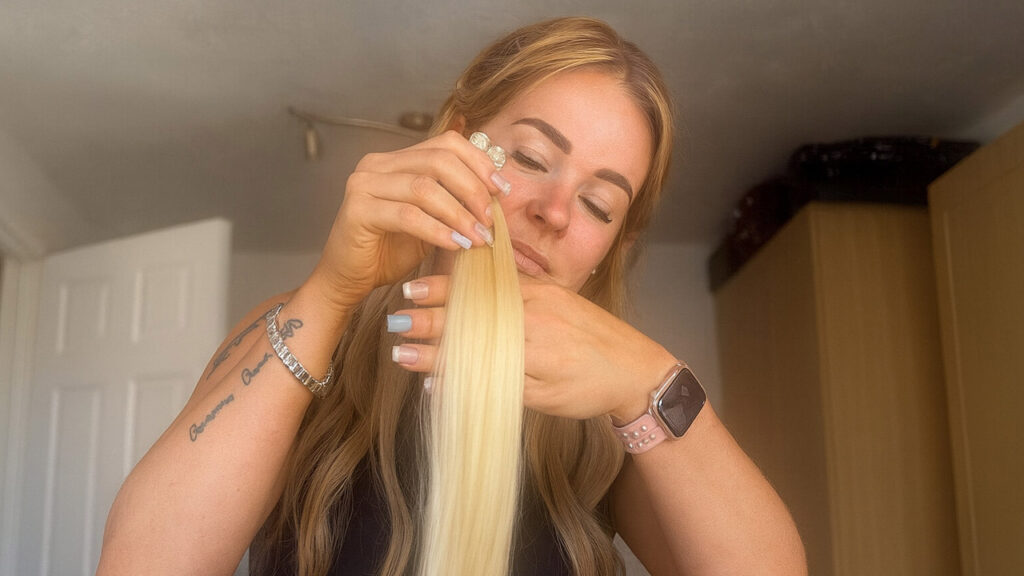
Simply speaking, what I used to cover Sasha’s head are three packs of 20″-Genius Weft Hair Extensions in the color #613, which is a bright golden blonde. Four rows or wefts were used for the back alone for a voluminous result.
Sasha’s natural hair was white and had a bit of ash. So I needed to dilute the hair a little bit to match her hair perfectly. I toned it down using Moroccan purple shampoo without using any hair dye.
I used three packs of Genius Wefts. Each pack contains two wefts, weighing about 50g. The wefts were attached in three rows to cover her entire head and create awesome volume.
I didn’t cut any of the wefts, as the width of the wefts fit Sasha’s hair just fine. But I did use a few strands of tape-in hair extensions of the same color to fit here and there where a little extra volume is needed. That includes her fringe.
One thing you can’t miss as a professional stylist is that Newtimes Hair extensions are incredibly affordable for the quality they offer. The hair is luxurious and affordable at the same time. Sign up with them if you are a stylist, and get all professional extensions at wholesale pricing.
The Final Look — and Why It Matters

By the time Sasha spun around to face the mirror, her smile said it all. We achieved exactly what we planned to achieve. That’s the magic of working with Genius Weft Hair Extensions — precision color matching, weightless comfort, and endless styling freedom.
So here’s my advice to every stylist: if you want hair extensions that feel as good as they look, to get what you spend, try Newtimes Hair Genius Wefts. Your clients will thank you, and your work will thank you, too.
About the Author
.author { display: flex; gap: 20px; } .author-image { width: 33%; } .author-image img { width: 100%; } .author-info { flex: 1; } @media screen and (max-width: 776px) { .author { flex-direction: column; } .author-image { width: 100%; } }