


How to Apply a Lace Front Wig in 15 Steps: A Complete Guide
How to apply a Lace front wig; well, follow these 15 steps, and you will never be wrong.
Lace front wigs are the undisputed queens of the wig world. Why? Because they do what every client dreams of — they mimic a natural hairline so well that no one has to know it’s a wig. That little strip of lace is magic, giving wearers the confidence to toss their hair back, wear it up, or part it however they want.
But here’s the catch: lace fronts aren’t just “throw on and go.” Applying one correctly takes preparation, the right products, and a bit of technique. Done well, the result is undetectable glam. Done badly? Let’s just say you don’t want lifting lace, shiny glue, or a visible hairline that screams wig.
This post is a step-by-step guide. It will show you everything you need to know from preparation, application, styling, to maintenance and salon tips. You will learn the common mistakes to avoid, too. Let’s get started.
If you aren’t familiar with lace front wigs, check out our related article: What Is a Lace Front Wig?
Part 1: Preparation
You surely want the lace front wig to be installed seamlessly. However, a seamless result doesn’t start with the wig. It begins with the preparation. It’s just like painting a masterpiece. No one would slap paint onto a dusty canvas and call it a painting, right? The same rule applies here.
1. Do a Skin Test
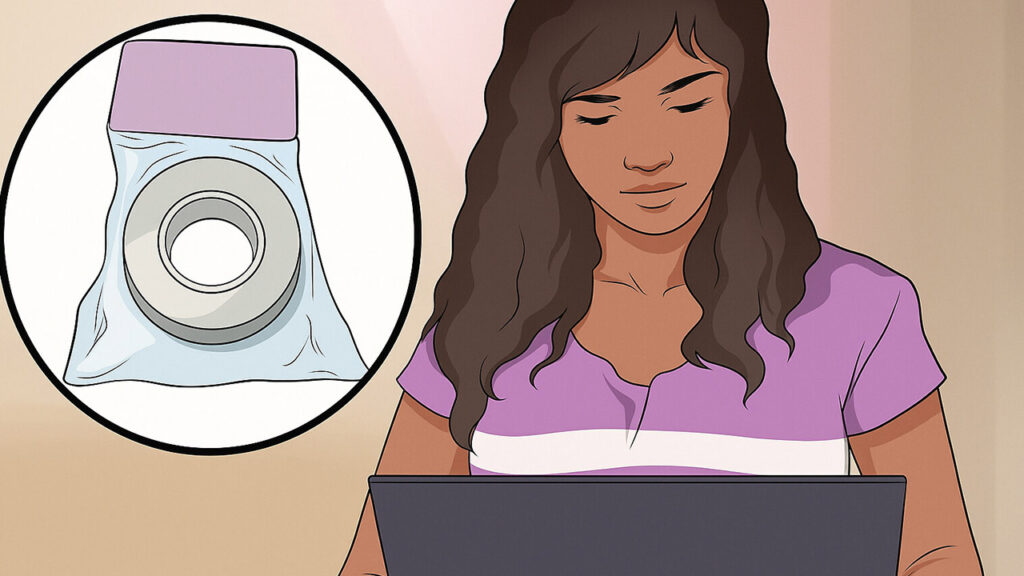
Adhesives are necessary for installing lace fronts, but not everyone’s skin loves them. Get your clients to test before committing.
- Dab a small bit of liquid adhesive or wig tape on the back of your hand.
- Leave it for 24 hours.
- If you see your skin turn red or irritated, switch to a hypoallergenic adhesive or wig tape.
Pro Tip: If you are a salon owner, keep hypoallergenic adhesives in your kit. Nothing builds trust faster than protecting a client’s scalp.
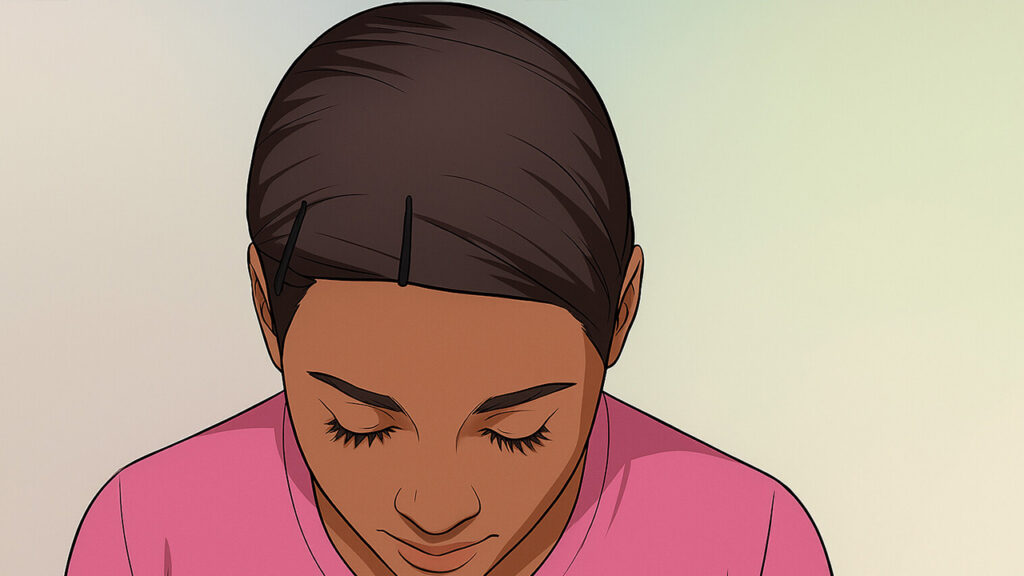
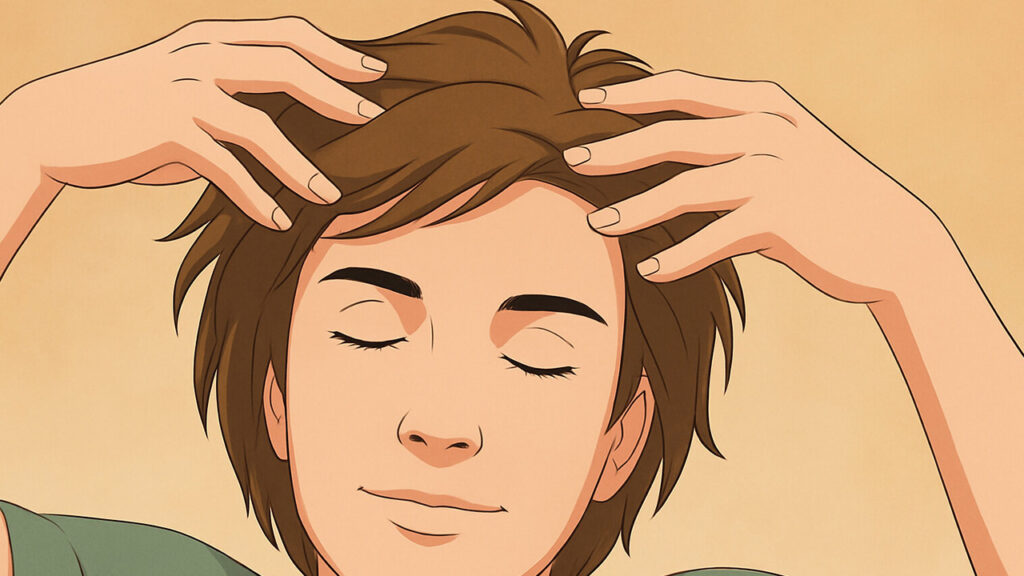
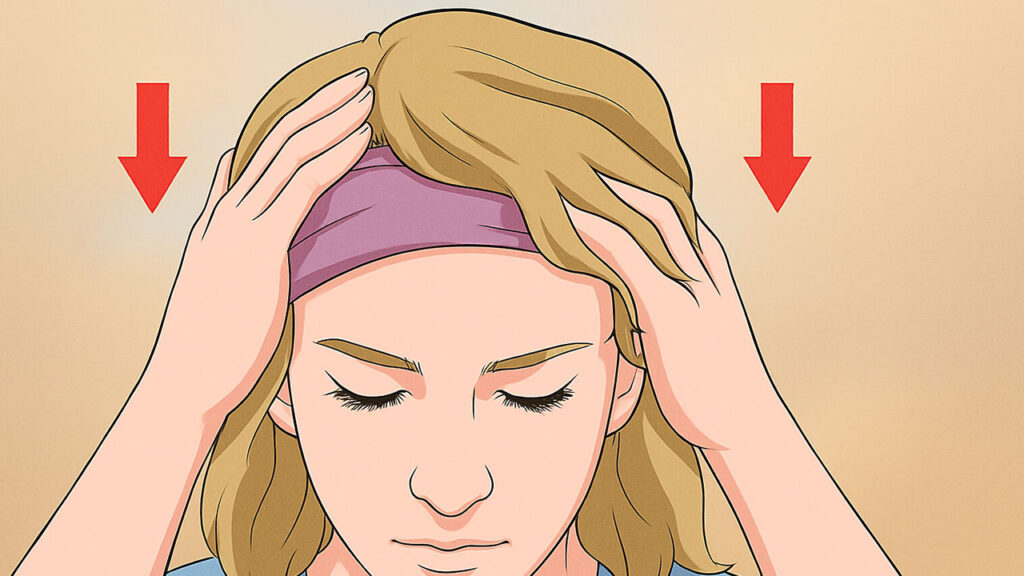
2. Flatten Your Natural Hair
The flatter the base, the more natural the wig will sit.
- Short hair: Cornrow braids or mold flat with gel.
- Long hair: Low ponytail → wrap into a bun → secure with bobby pins.
Pro Tip: Let any gel dry before moving on. Wet hair under a wig cap = trapped moisture, which irritates the scalp.
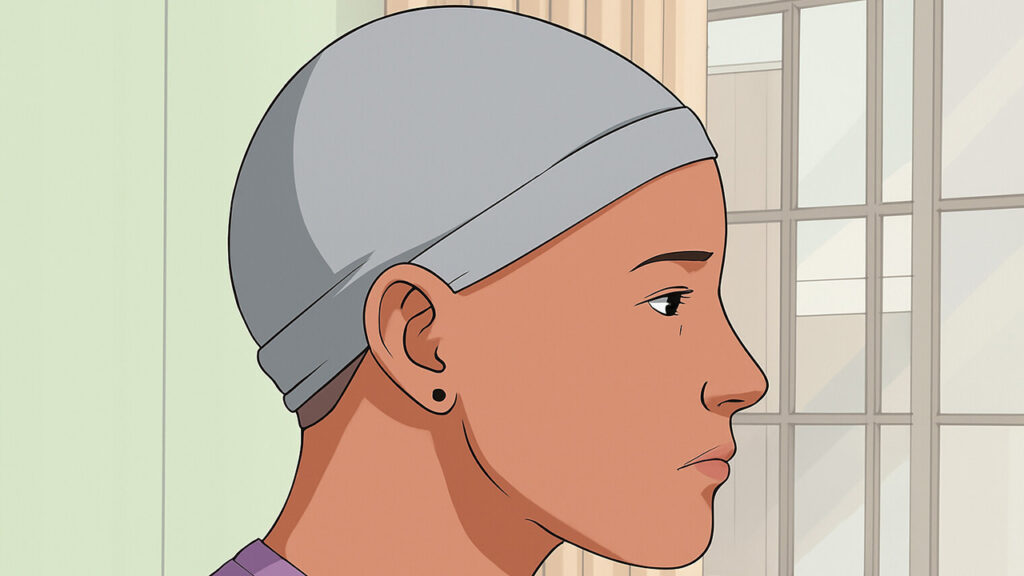
3. Pop on a Wig Cap
A wig cap (a.k.a. stocking cap) does three things: flattens hair, protects edges, and gives the wig a grip.
- Choose a cap close to your skin tone or opt for HD transparent caps.
- Pull it on gently so you don’t disturb your flattened hair.
- Tuck every single hair in, including those sneaky neck hairs.
Skip this step only if you’re bald — otherwise, caps prevent slippage.
For more details on how to put on a wig cap, refer to our related post: How to Put on a Wig Cap in 6 Steps
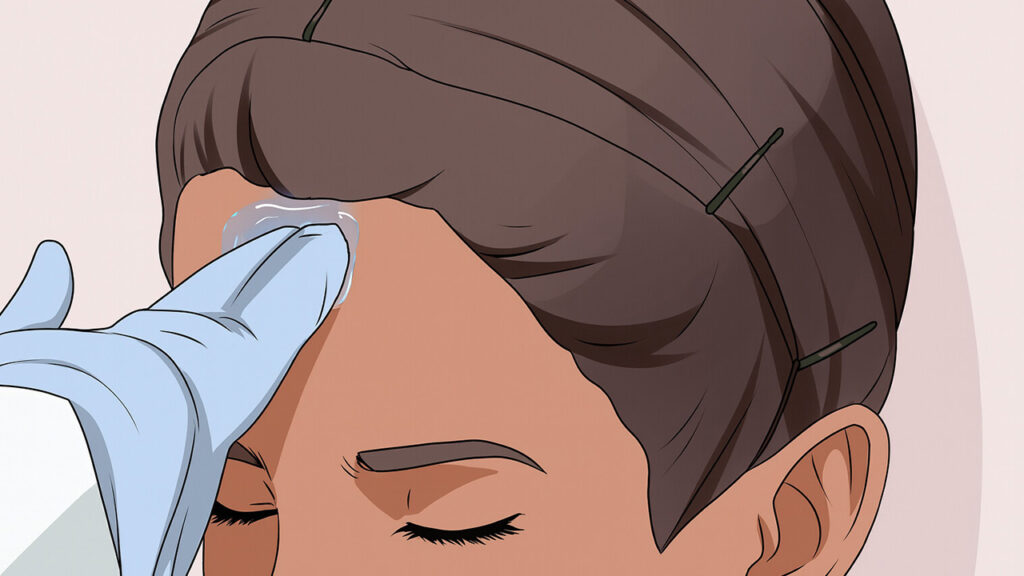
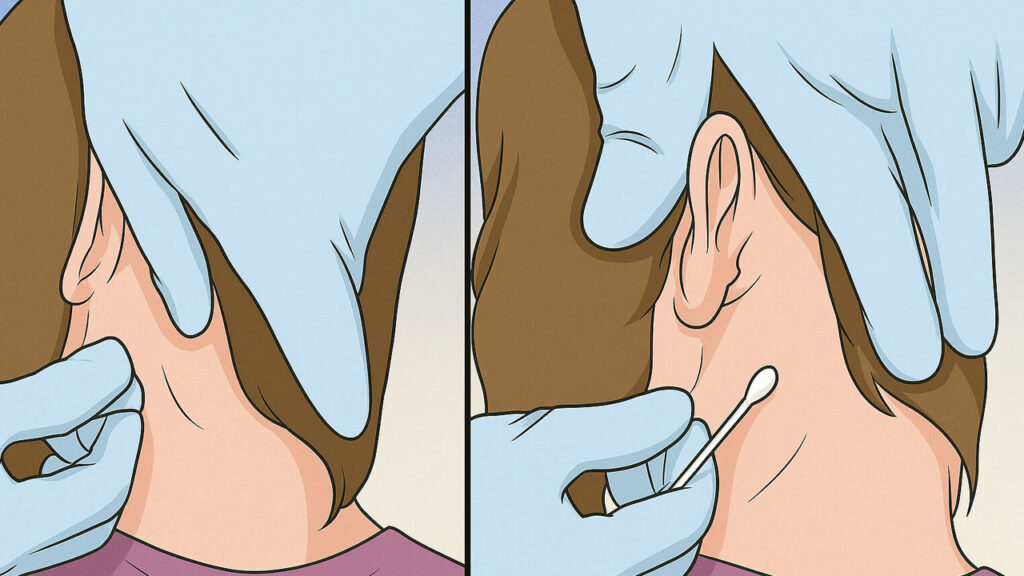
4. Prep the Skin
Oil is the enemy of adhesives.
- Wash your hairline with a gentle cleanser.
- Dab rubbing alcohol on a cotton pad and swipe your hairline.
- Sensitive scalp? Use a scalp-protecting serum afterward.
Let it dry fully before applying anything else.
Stylist Secret: Some pros dust a little translucent powder over the hairline after alcohol — it mattifies the skin for even better grip.
Part 2: Actual Steps on How to Apply a Lace Front Wig
Now comes the fun part. Application is where technique separates a flawless, undetectable install from one that looks… well, questionable.
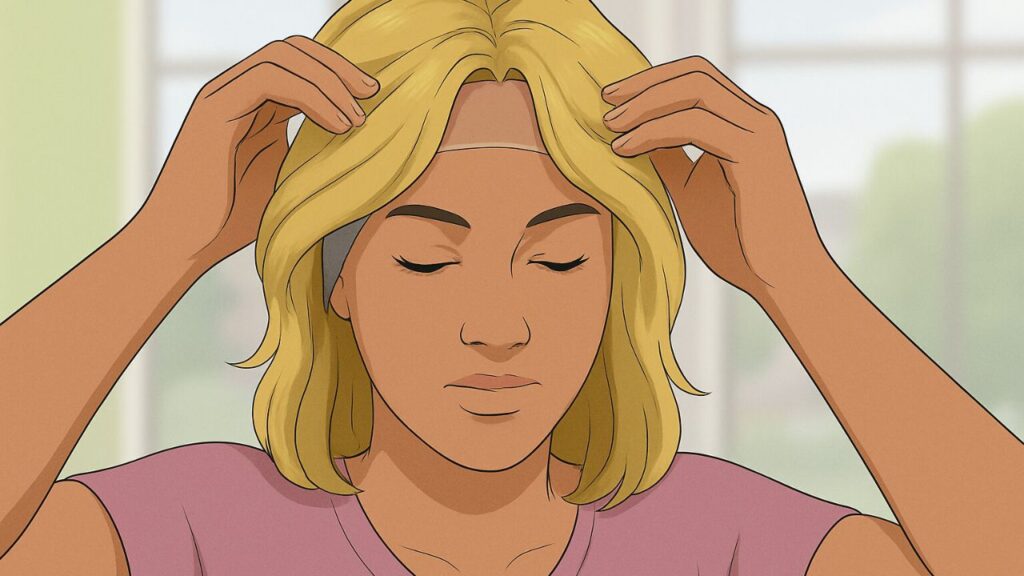
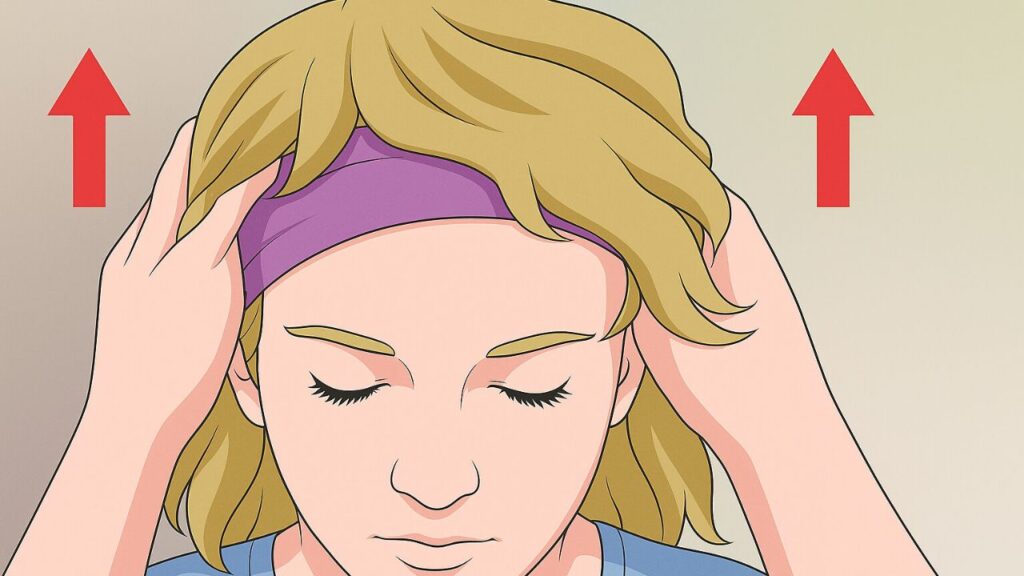
1. Test the Fit
Before glue or tape, try the wig on, and see if it fits.
- Align the lace with your natural hairline.
- Adjust the internal straps if needed.
- Too tight? Loosen. Too loose? Tighten.
If the wig feels like it’s squeezing your skull, it’s too tight. Comfort matters, especially for all-day wear.
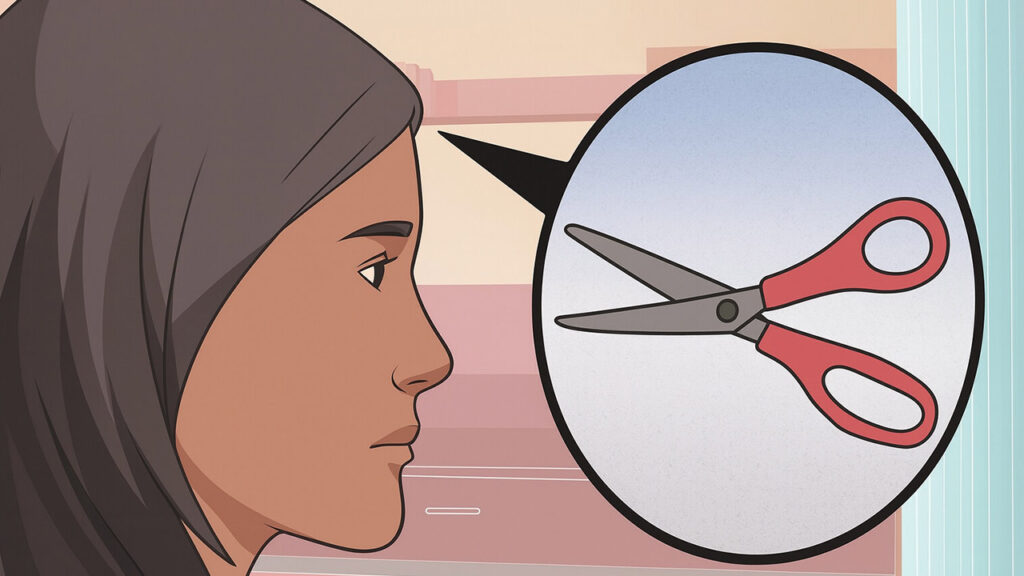
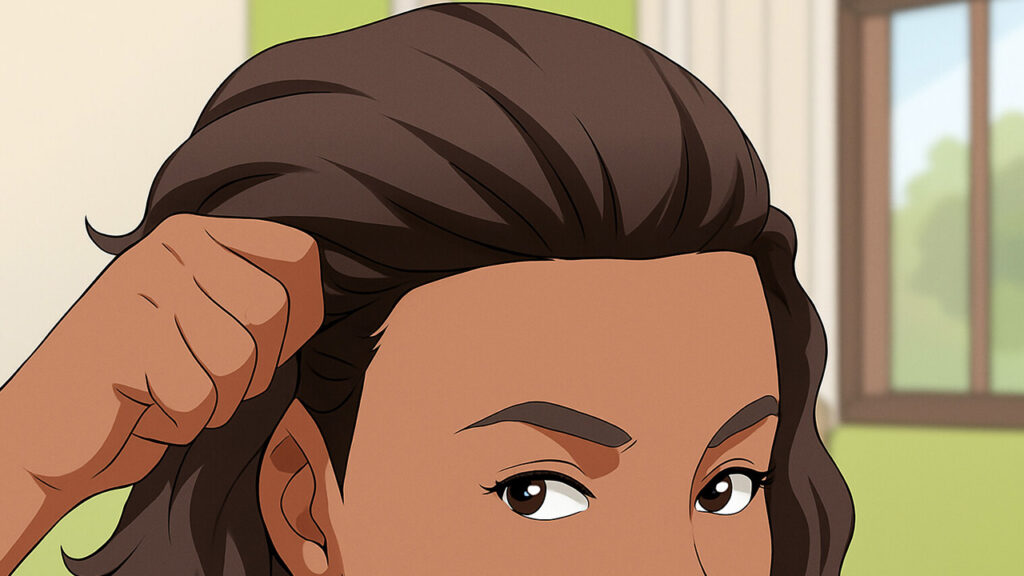
2. Trim the Lace
This is a make-or-break moment. The lace at the front is usually bigger than the area it acctually needs to cover. So in most cases, you will need to trim it down for it to melt perfectly into the scalp.
- Pin or clip the hair back.
- Using sharp scissors (ideally pinking shears to avoid fraying), trim the excess lace along your hairline.
- Leave about 1/8 inch (3 mm) of lace.
Only do this once — future wears won’t need trimming.
Pro Tip: Don’t cut in a straight line. A slightly jagged trim mimics a natural hairline better.
3. Remove the Wig and Set It Aside
Now that you’ve tried the wig on and cut the lace, you can remove it and attach it later.
Carefully lift the wig off your scalp, leaving all the clips or bobby pins in, and lay the wig on a clean flat surface. Arrange the wig and see which part goes on the hairline and which goes on the nape of the neck.
- If you have to loosen any straps to get the wig off, your wig is too tight.
4. Apply Wig Tape
Cut 6–10 small strips of wig tape. Press the sticky side along your hairline to secure it to your skin. Use a mirror to keep the line straight and even. After the tape is in place, peel off the thick backing to expose the other sticky side.
- You can find wig tape at most beauty supply stores or online.
- Make sure each strip touches the next. Gaps will leave spaces in your hairline.
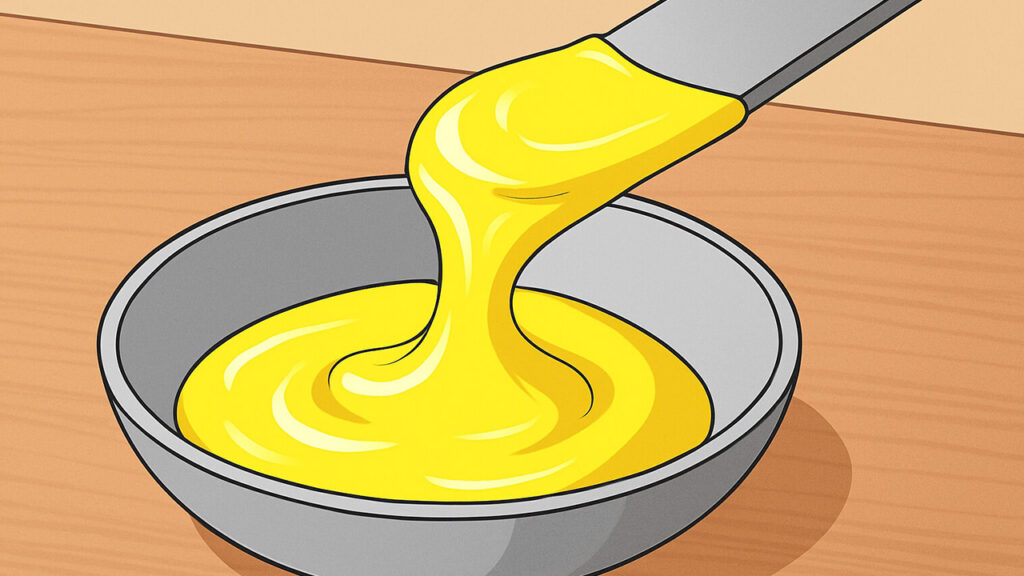
5 Apply a Liquid Adhesive
If you’d rather not use wig tape, go with a liquid lace glue instead. Use a clean makeup brush to paint a thin line of adhesive along your hairline. Depending on the type, you might need to wait a few minutes before putting on your wig.
- With a soft bond adhesive, let the glue dry until it feels tacky before applying the wig.
- With a hard bond adhesive, you can place the wig right away.
Read our related article on when to glue the hair system on.
Warning: Once lace touches glue, it’s not moving. Double-check placement before pressing down.
6. Place the Wig
Now it’s the vital step: Place the wig on your head.
- Start at the front and gently lower the wig onto your head.
- Press the lace into the adhesive/tape along the hairline.
- Adjust the back so it falls naturally.
Then, press firmly for a few seconds to secure it in place.
Pro Tip: If your wig knots are visible, you can disguise them by using foundation that matches your skin tone, suggests L’Oréal Paris.
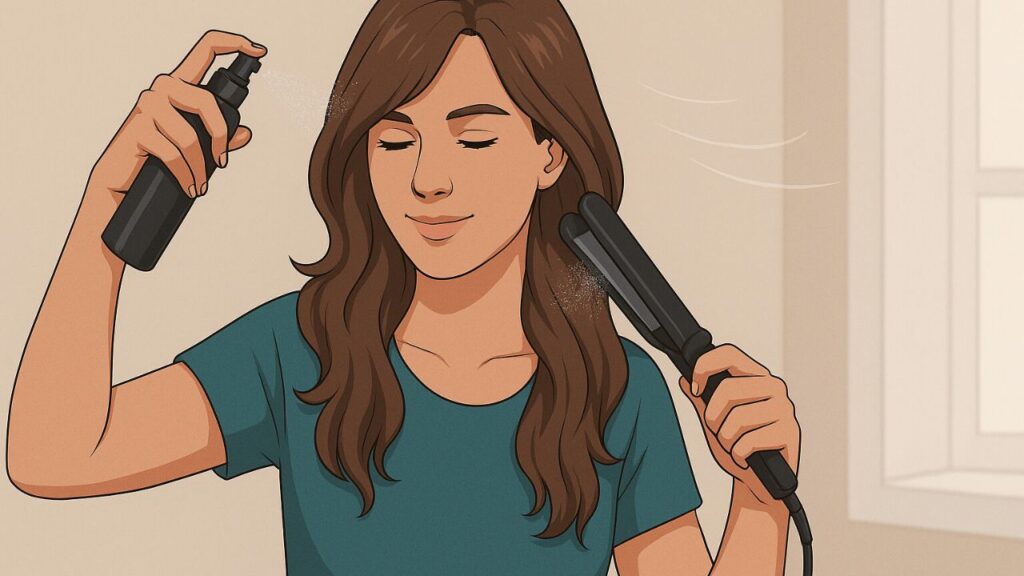
7. Style to Blend
Once secure, it’s styling time.
- Human hair wigs: Use brushes, curling irons, flat irons, and even color (if high-quality Remy).
- Synthetic wigs: Stick to wide-tooth combs and products made for synthetics.
Customize with plucked baby hairs, side parts, or heat styling to blend seamlessly.
Pro Tip: Always use heat protectant when styling the hair with heat tools. Click here for more tips on how to make a wig look natural.
Part 3: Maintenance & Removal
The install isn’t the end — how you care for a lace front wig determines how long it lasts and how good it looks.
1. Removing the Wig
Removal happens when you need to take your lace front wig off for a wash, or you are not going to use it for a long time, and store it. Never — and I mean never — yank a lace wig off.
- Use adhesive remover or baby oil.
- Gently massage along the hairline until the lace lifts.
- Peel slowly.
Pulling will tear the lace and damage the wig.
Read related: How to Detangle a Human Hair Wig
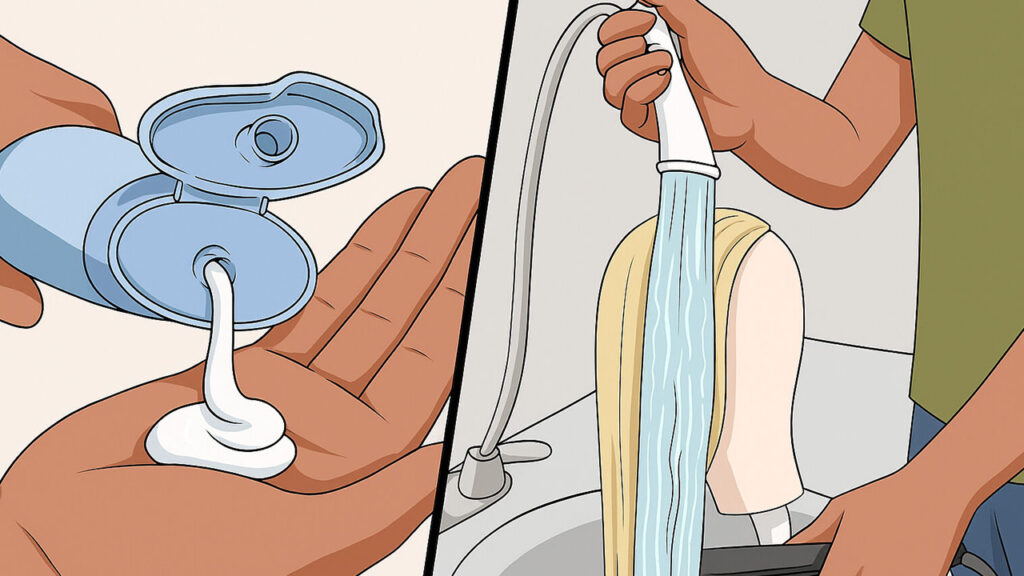
2. Washing the Wig
Depending on how often it’s worn, wash every 8–12 wears.
- Brush out tangles before washing.
- Fill a basin with lukewarm water.
- Shampoo and condition (regular products for human hair, wig-specific products for synthetic).
- Pat dry with a towel — no rubbing.
- Air dry on a wig stand.
Read our related article on how to maintain a wig cap, and a detailed guide on how to wash a human hair wig in 6 steps.
Stylist Secret: Always condition mid-length to ends, never the lace base. Conditioner weakens adhesives.
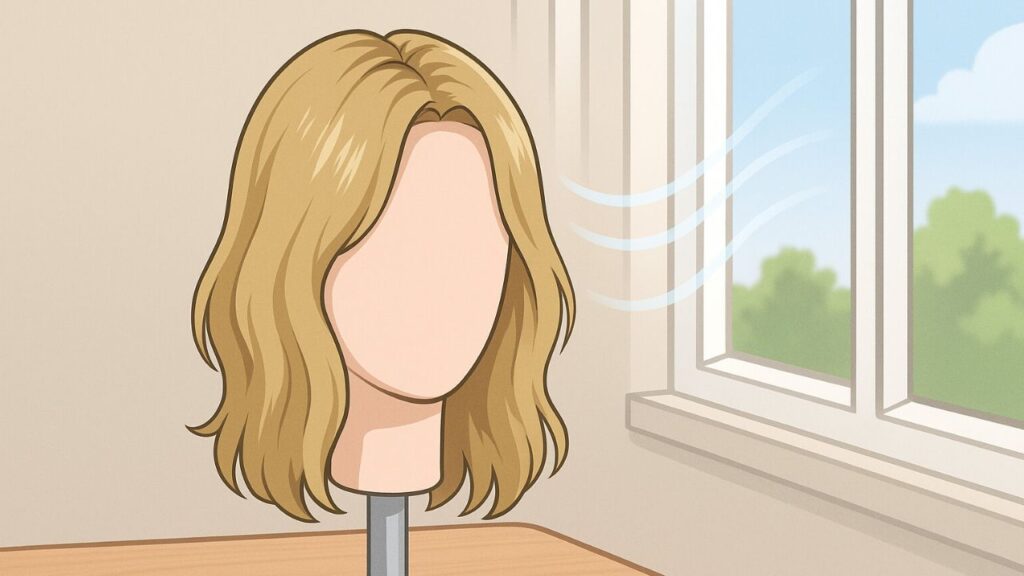
3. Dry the Hair After Washing
Dry the hair gently. After washing your wig, pat it with a towel to remove extra water. Do not rub, as this can cause tangles and frizz. The best way is to let the wig air dry on a stand, which keeps its natural shape and makes it last longer.
- Always choose air drying when you can—it’s the safest method.
- If you must use a blow dryer, keep it on a cool or low setting.
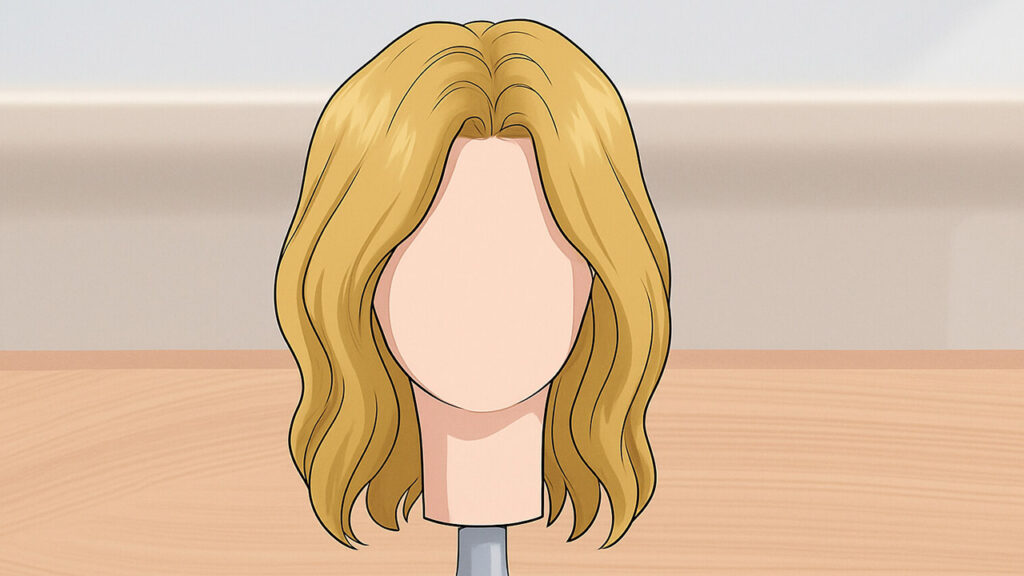
4. Storing the Wig
When not in use, you need to store the wig properly. Here are the tips:
- Keep it on a wig stand.
- Store away from direct sunlight and dust.
- Make sure all adhesive residue is cleaned before storage.
Proper storage = months of extra wear.
Check out our related post on human hair wig maintenance.
Wrapping Up
After all, how to apply a lace front wig? Well, lace front wigs take a little time to apply, but the results are worth it. With the right prep and products, they give the most natural hairline. Good care keeps them looking fresh and lasting longer. Follow these steps to avoid mistakes and get the best finish.
Refer to our related post on how to put on a wig for beginners.
In the end, a lace front wig doesn’t just look real — it gives real confidence too.
About Newtimes Hair

At Newtimes Hair, we know a flawless lace front install starts with the wig itself. That’s why every lace front we make is crafted with precision, using premium Remy human hair and bases designed to melt seamlessly into the hairline. Whether you’re a stylist installing for clients or wearing one yourself, our wigs are built to deliver that undetectable finish this guide has been all about. From natural-looking lace to customizable options, we give you the tools to create confidence with every install.
With Newtimes Hair, you’re not just applying a wig — you’re unlocking the look, the feel, and the freedom of real hair.
FAQs About Applying Lace Front Wigs
I have had many lace fronts but i always gave them away because I just couldn't get them to fit correctly.I stumbled upon your site and it is awesome! I am not afraid anymore. Thank you.
May 1, 2026 1:40 amThank you so much for sharing your experience with us. We’re truly happy to hear that our site helped you feel more confident about lace front wigs. Finding the right fit can be challenging, so it means a lot to know our information was helpful. We sincerely appreciate your kind words!
May 11, 2026 9:28 am