How to sew wig clips into a hair system? Does the question surprise you? It is commonly known to us that, on most occasions, hair systems are affixed to the client’s scalp using tape or glue, while wigs or toppers are mostly attached using wig clips.
Nevertheless, there are instances where the wearers prefer to avoid shaving their heads, or they are uncomfortable using tape and glue. In these scenarios, suggest your clients use clips to attach hair systems.
If you didn’t require our Adding Clips service when placing the order, this tutorial will show you how to sew wig clips into hair systems manually. Now, let’s get started.
What Do You Need for Sewing Wig Clips into Hair Systems?
These are the necessary parts and tools. Get them ready, and your work will be sweet.
- Thin nylon thread
- Sewing needle
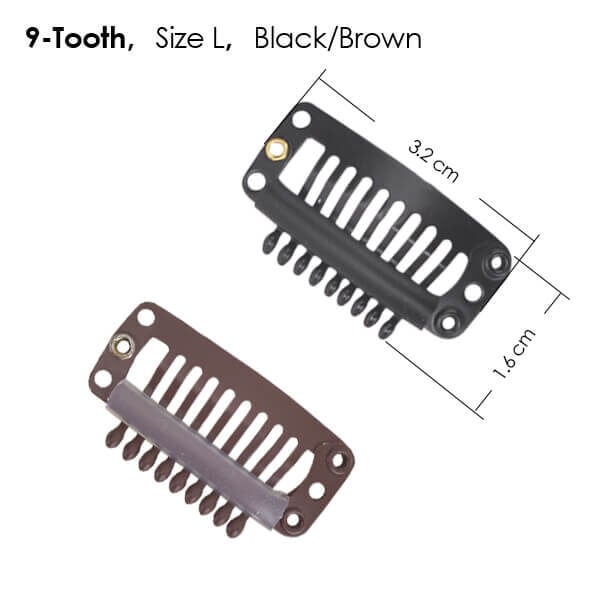
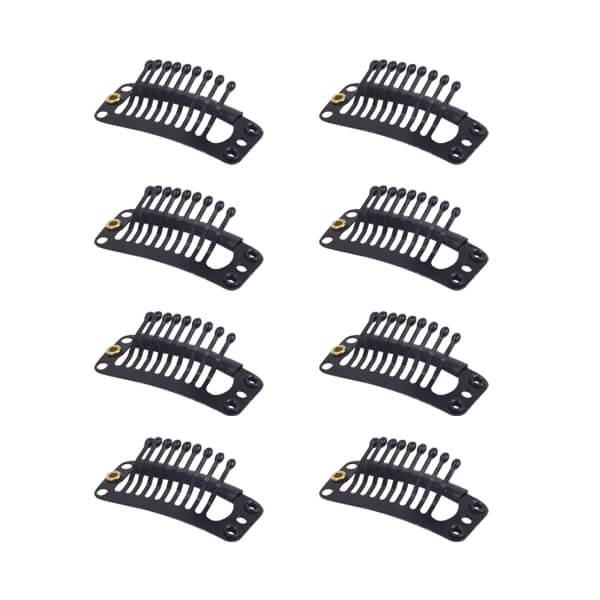
- Pressure-sensitive wig clips
- The hair system
How to Sew Wig Clips into Hair Systems: A Step-by-Step Guide
How to sew wig clips into hair systems: Follow these simple steps, and you will master the skill and create a solid hold for your client.
STEP 1: Prepare the thread and needle for sewing. Get the thread through the eye of the needle, pull it, match the ends of the thread, double it, and knot the ends together.
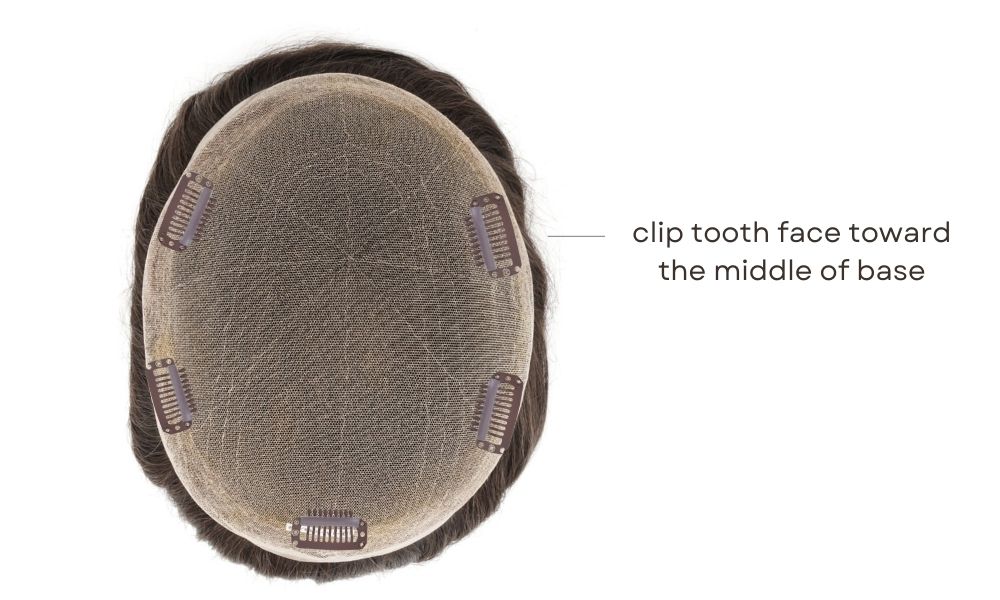
STEP 2: Decide where you want the wig clips added, and mark them on the underside of the base. Ensure the clips are evenly distributed and optimally positioned on the edge of the hair system to create a solid hold.
STEP 3: Use clips with a similar color to the base. Position a wig clip at one of the marks (that’s where you wanted the clip to be) you just made, making sure the clip teeth are facing up. Also, make sure each clip is positioned an equal distance from the edge of the base.

STEP 4: Now, sew the wig clip into the hair system. Like starting a running stitch, drill the needle into the base surface, pull it out again from the front, and let it through one of the clip holes. Keep pulling out till it’s locked by the knot. Let the needle go between the doubled threads, pulling all the way through, till it’s locked at the knot.
STEP 5: Repeat the previous step 3-4 times. When repeating it the last time, take one of the double threads, wrap it around the needle 4-5 times, and then pull it through and keep pulling to the end. Repeat all steps above for each of the holes the clip has. And that’s how to sew one clip to the base.
STEP 6: Get all clips sewn into the hair system and ready to wear!
FAQs
1. How many clips do you usually need for a hair system?
Generally, having 3-6 clips is sufficient to fasten the hair system to the client’s head securely. The idea is that more clips will enhance the bond. However, more than six clips are usually unnecessary. Regardless of the quantity, making sure the clips are evenly distributed around the base is crucial, and also, each clip must maintain an equal distance from the edge of the base.
2. Can you sew clips on ultra-thin skin hair systems?
Bases with ultra-thin skin, such as those measuring 0.03mm thick or less, are too delicate for clips to grip securely. Sewing clips onto these bases is not recommended, as it may tear the base.
Conclusion
With many clients, rather than getting them to shave their heads, they may feel more secure keeping their natural hair intact, especially females who can only require toupees for women, and psychologically, they’d instinctively cringe at the idea of having their heads shaved, regardless of what final look they’ll get.
Having mastered how to sew wig clips into hair systems, you’ll attract a more friendly clientele to your salon, as many clients would prefer keeping their natural hair. They will appreciate your ability to transform their look while keeping their hair untouched at the same time.
Are you interested in stocking a whole batch of hair systems with clips? You’re covered! Our add-on services will sew clips for you. You will receive a collection of hair systems with ever-securely stitched clips. Just choose “add clips” option when you place the order!


