


- How Long Does One Hair System Last?
- Element 1: Fitting a Hair Replacement System
- Element 2: Removing Your System with Adhesive Solvent
- Element 3: Cleaning Your System and Scalp with the Right Solution
- Element 4: Hair Care Techniques
- Element 5: Color Care
- Wrapping Up About Hair System Care
- About the Author
- FAQs
Hair System Maintenance Routine Essentials
- How Long Does One Hair System Last?
- Element 1: Fitting a Hair Replacement System
- Element 2: Removing Your System with Adhesive Solvent
- Element 3: Cleaning Your System and Scalp with the Right Solution
- Element 4: Hair Care Techniques
- Element 5: Color Care
- Wrapping Up About Hair System Care
- About the Author
- FAQs
A good hair system maintenance routine can make hair systems last longer than you think — seriously. It all boils down to five key elements:
Fitting
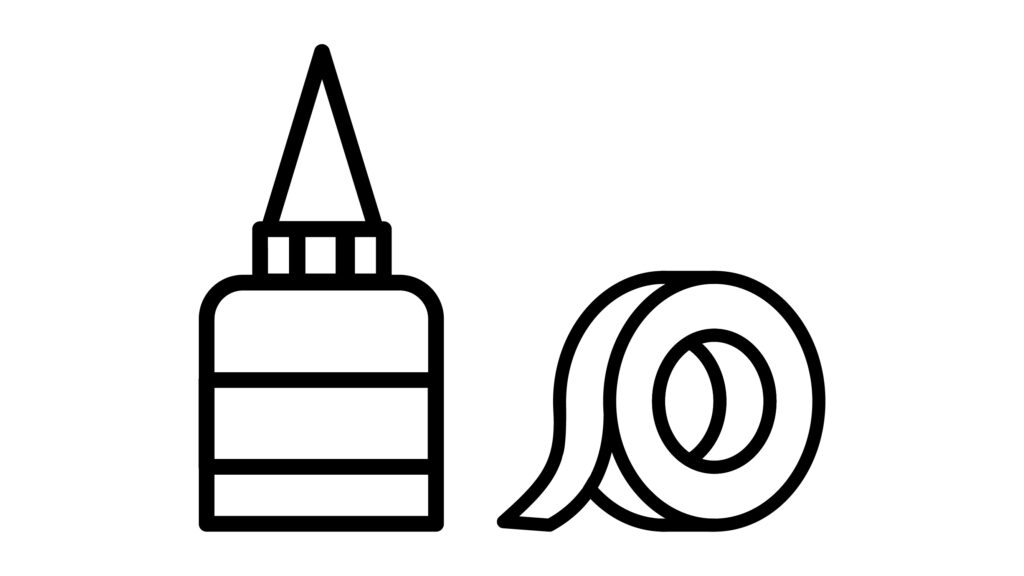
We’ll show you how to attach lace, poly, and hybrid bases step-by-step using tape, liquid glue, or both.

Removal
You’ll learn the best and safest way to remove your system, preventing damage and making it easy to clean after.
Cleaning
We’ll show you cleaning tips to save you time and money.
Hair Maintenance
You will learn how to keep your hair in optimal condition.

Color Care
Follow our practical color maintenance tips to keep the color vibrant.
Let’s break down each one, nice and easy.
How Long Does One Hair System Last?
Here is a brief guideline of how long different hair systems will last. You can use it to plan your care routine.
Base Material | Lifespan |
Skin 0.03mm | Around 4 Weeks |
Skin 0.06mm | 2-3 Months |
Skin 0.08mm | 3-4 Months |
Skin 0.1mm | 3-6 Months |
Swiss Lace | 1-2 Months |
French Lace | 3-4 Months |
Monofilament | 6-12 Months |
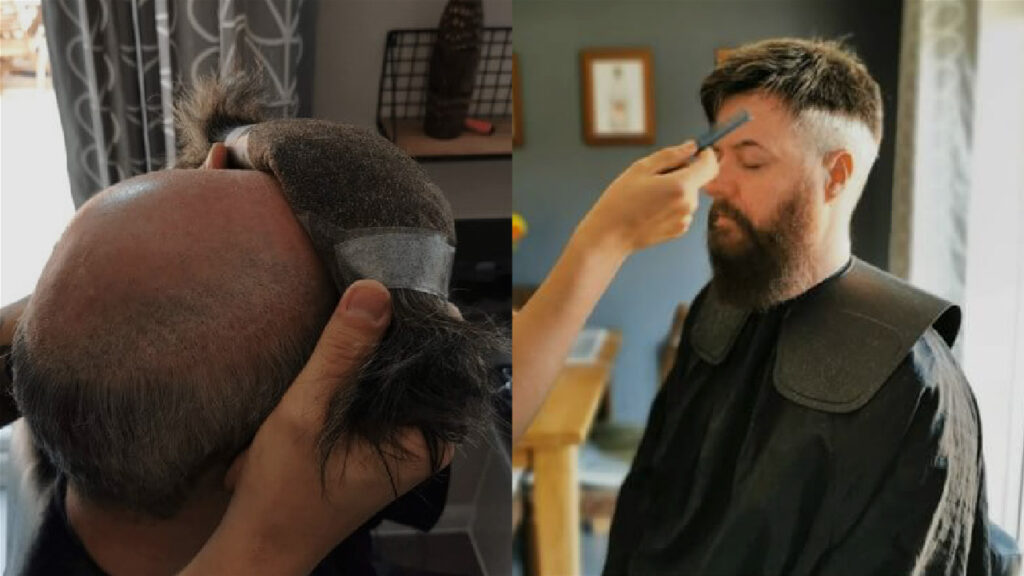
Element 1: Fitting a Hair Replacement System
A perfect fit means fewer lift-ups, better comfort, and a system that stays put — and stays fabulous — for much longer.
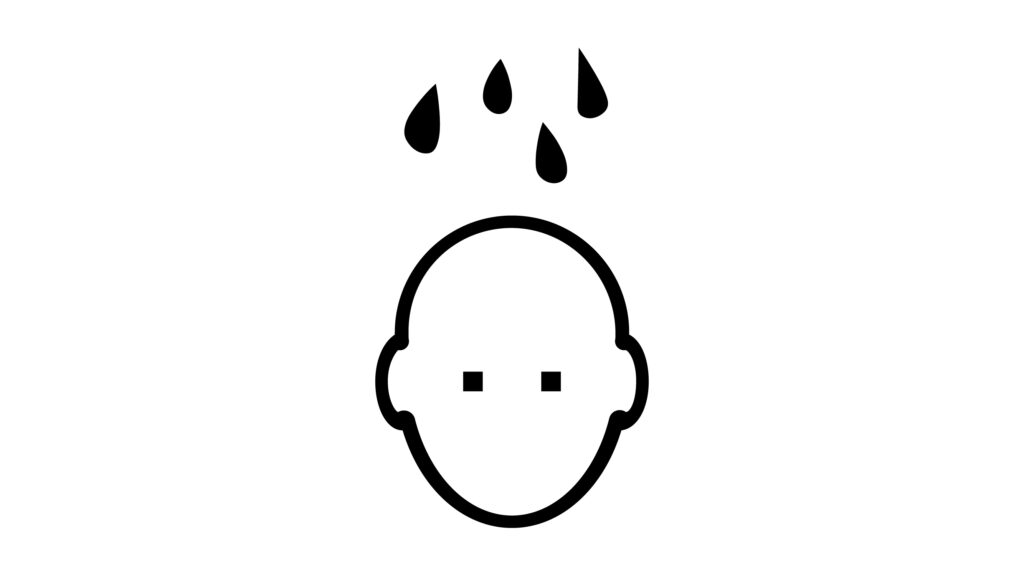
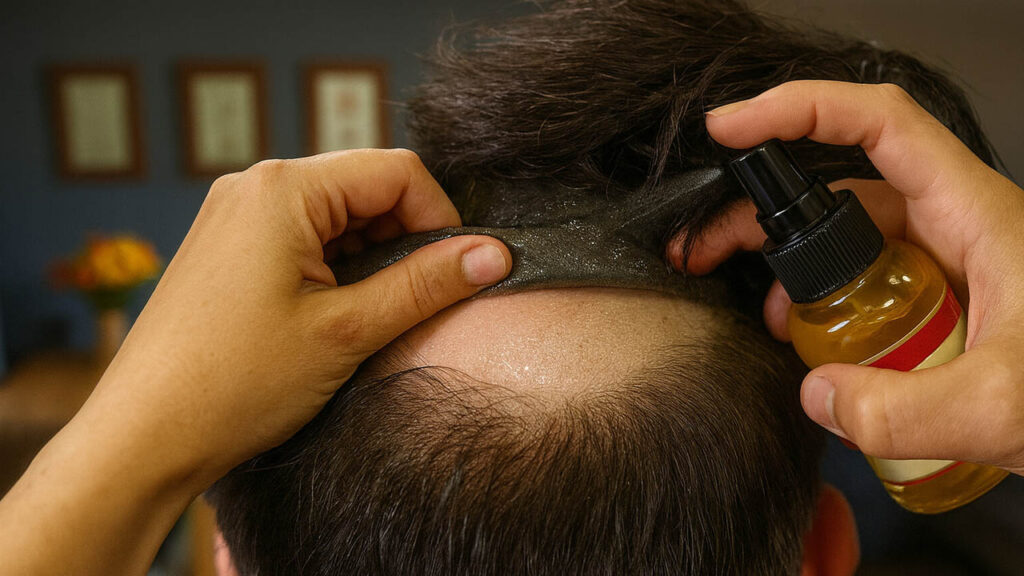
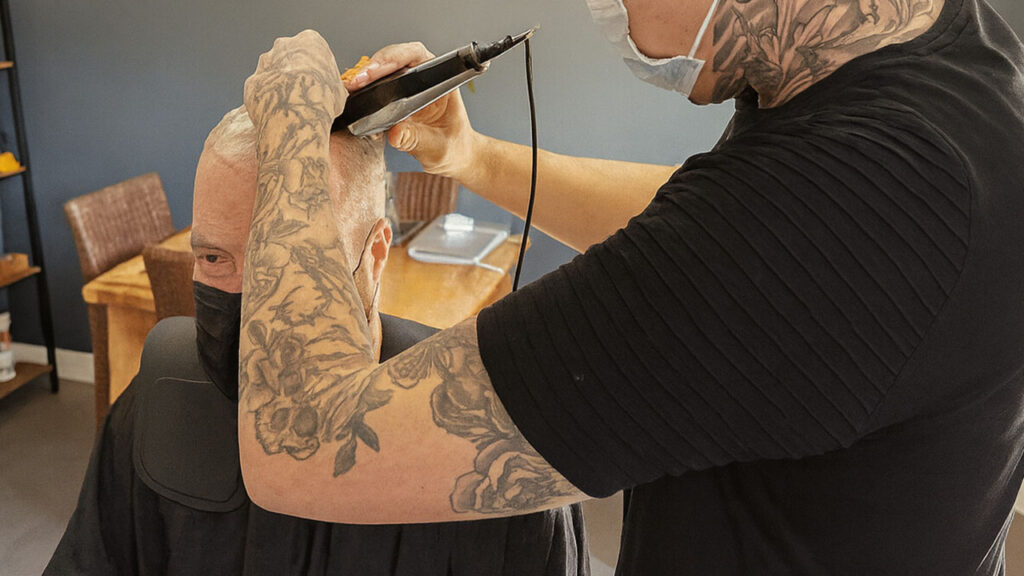
Scalp Preparation
A perfect fit means fewer lift-ups and better comfort.
1) Ensure that both the scalp and the base are absolutely clean and oil-free. Remove the tape or adhesive residue with cotton pads or a kitchen roll.
(Tip: Use a fine-tooth nit comb to remove excessive tape or glue left over.)
2) Shave the area where the system will be attached.
3) Clean the oil with alcohol or a face mask. Remember, if there is a tiny bit of oil, the bond won’t be sticky enough.
4) Wash your scalp and existing bio hair with a mild, SLS-free shampoo.
5) Dry your scalp thoroughly.
6) Clean the scalp again with alcohol.
Now that your scalp is buffed to perfection, you are ready to apply the glue or tape.
Attaching Your System Properly – Essential to Reduce Hair System Cost Per Year.
How would you like to bond your system? What hair maintenance tools should you use? It depends upon the following:
- Base
- Your activities, e.g., work-outs.
- Frequency of removal for maintenance
- Skin condition.
- The balance between comfort and solidity.
Choosing the right glue or bonding for the system can make it easier to remove and clean the toupee, making it less likely to destroy the system and extend its lifespan.
Glue suits skin systems, as tape may tear the skin. On the flip side, mesh systems prefer tape, as glue could seep through and wreak havoc on the roots.
Check out our related article and decide what to use for attachment: Hair System Tape vs. Glue.
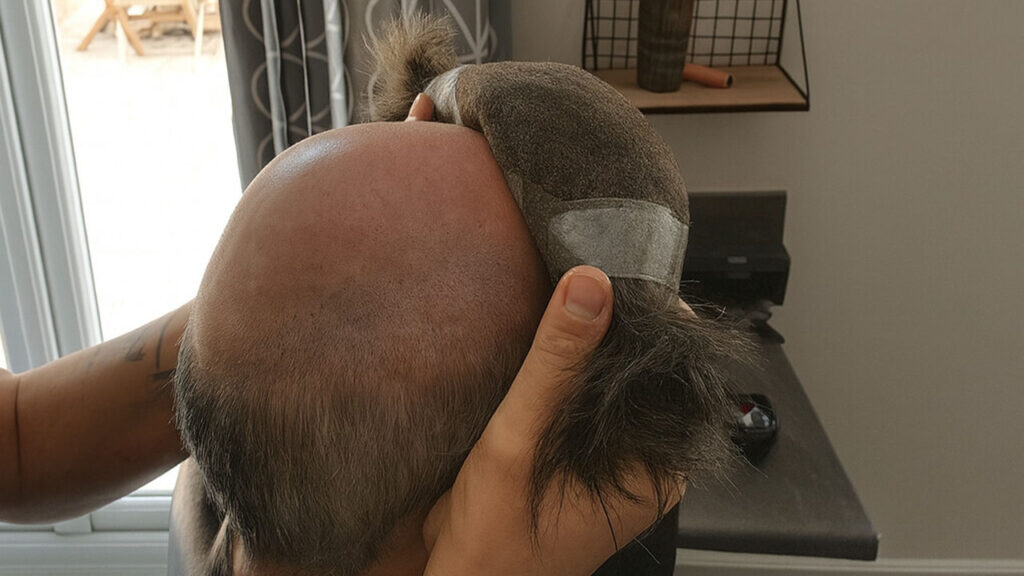
Bonding with Tape
Usually, a liquid glue holds significantly longer than tape. But if you remove your system pretty often, then go for tape.
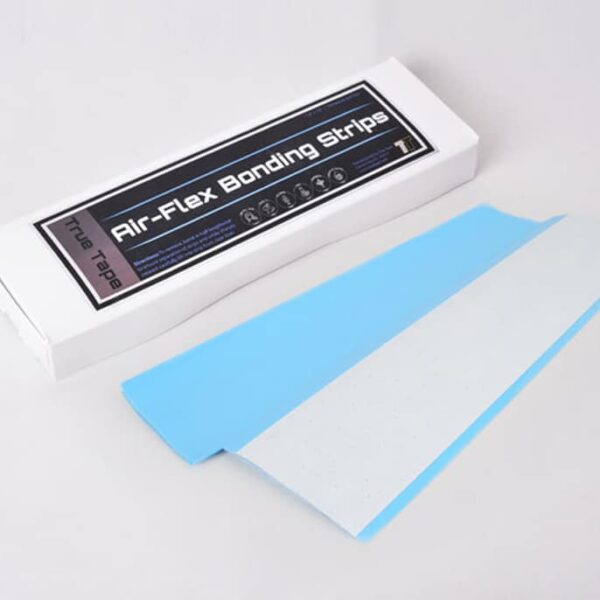
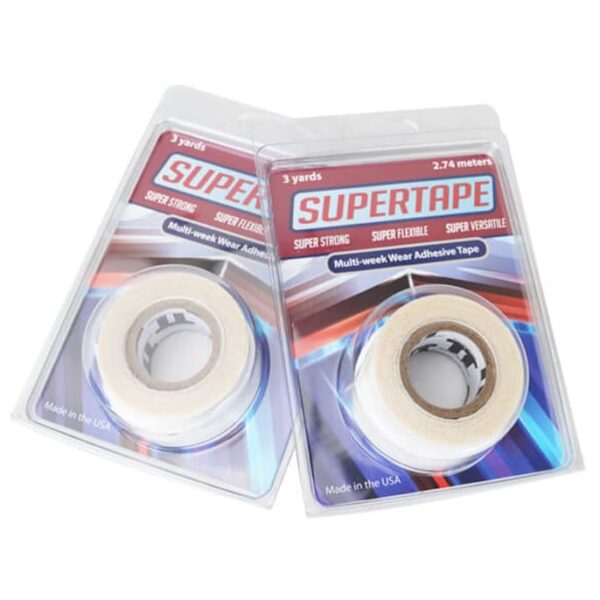
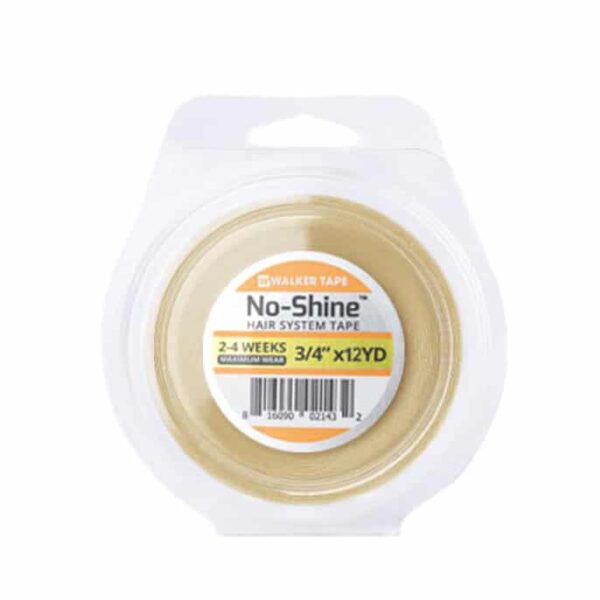
For daily care and removal, 3M No-Shine tape will do. For longer hold, we recommend Air Flex or Supertape.
Find out why your hair system doesn’t stick.
The steps for fitting a system with tape:
(Tip: This is a professional maintenance job, and we strongly suggest you get a hair system technician to attach it for you for the most discreet look.)
1) Remove the release paper from the double-sided tape.
2) Apply the tape around the perimeter of the system (or throughout the base for a full-head bond).
3) Remove the release paper from the other side of the tape.
4) Place the front of the system in position and slowly roll it back over the wearer’s scalp (don’t catch any natural locks in the tape).
5) Secure the system in place by pressing firmly over the taped areas (for a full-head bond, start from the center and work outward to eliminate air bubbles).
6) The system is now perfectly attached. Now style it and go!
Try not to leave mesh systems on for over two to three weeks, as the glue left over can break down and seep through the lace. For the best outcome, we recommend that they get removed and cleansed every 6-10 days.
Find out about the hair system cost per year.
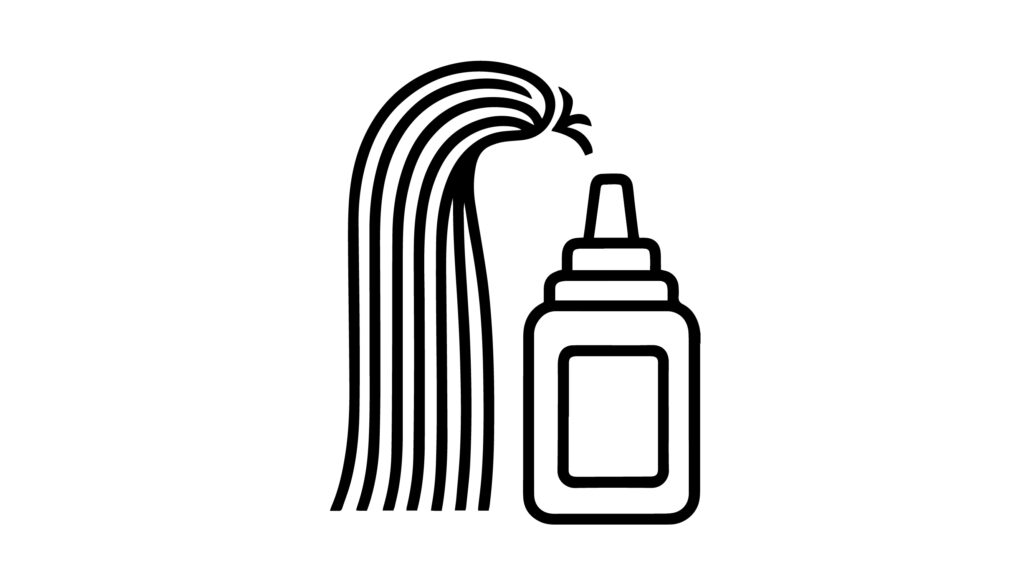
Bonding with Liquid Adhesive
Liquid adhesives or glue are only suitable for poly bases. With mesh bases, the glue will easily seep through.
Refer to our related article: How Long Can You Wear a Hair System With Glue?
One good thing about using liquid adhesive is that you can easily brush it on your or your client’s scalp like egg white and stick the system afterward.
Steps to applying liquid glue:
1) Using a suitable brush: a flat, short-bristle brush (1/2 inch to 1 inch wide) will do. Brush a very thin layer of glue onto your scalp.
2) Apply a thin layer of glue to the underside. Mesh systems usually have a polyurethane perimeter. Apply glue to the perimeter only.
3) Wait for 5 minutes until the glue is tacky.
4) Apply the system to the scalp; position the front first.
5) Roll back the system slowly over the scalp and press down firmly.
IMPORTANT – for lace front systems, follow these steps:
1) All steps above apply. Just never apply the glue to the front.
2) Trace the contour of the front with a light-colored eyebrow pencil in a dotted line, 1-2mm in front of the front edge.
3) Pin back the hair at the front.
4) Use a specific tape, such as Walker Lace Front, or a very fine layer of liquid glue. Work the glue layer down to the penciled dots.

5) Remove the dots with alcohol.
6) Leave the glue to dry for at least five minutes until it is almost dry.
7) Apply another layer of the same glue, let it dry, just like the previous layer.
8) Gently position the front over the glue.
9) Press the front down with fingertips. Done!
(If you are an individual wearer, we strongly suggest that you get it done by a professional stylist.)
Tip:
Also, check out our related blog post on how to apply a hair system in general.
Element 2: Removing Your System with Adhesive Solvent
For regular maintenance, removing your piece is essential and also very straightforward. It’s all about applying hairpiece remover and peeling the system off.
Full Skin Systems
1) With skin hair systems, spray or brush the remover (a citrus oil adhesive remover is a good option) around the edge of the system and leave it for 1-3 minutes.
2) Now the edge is getting loose; lift an edge of the system and apply a little more underneath the base edge.
3) Repeat the previous steps until the whole base gets loose and peel gently.
Lace Bases
1) Dab or spray remover (such as Lace Release) through the hair in areas you want to remove.
2) Wait for 1-2 minutes, then gently and slowly lift away from the scalp.
Lace Front Bases
1) Follow the general steps of base removal.
2) For the lace front, dab a little remover onto the lace front using your fingertip. Then, slowly peel
3) Gently lift about 1 inch of the mesh from the scalp.
4) Clip the hairline back out of the way.
5) Apply more lace release to both the edge and the exposed scalp.
6) Continue peeling like you do other systems.
Tip: Start peeling from the back, working your way up and forward to keep the front hairline intact. For a full-cap wig, we recommend peeling the temples first and then starting again from the back. Toupees are most vulnerable during removal. Go gently, and never be stingy with the use of adhesive remover.
Element 3: Cleaning Your System and Scalp with the Right Solution
After removing, clean the scalp, base, and hair as well. We will do washing as a separate part.
Cleaning Your Scalp
1) Apply the same citrus oil solvent (or apply baby oil for sensitive skin) onto the scalp and leave it for 1-3 minutes to loosen the tape or adhesive residue.
2) Firmly wipe off with a kitchen roll until there’s no trace of tape or adhesive.
3) Too much residue? Use a fine-toothed nit comb. This is an amazing tool for removing from the scalp and hair.
4) Gently comb over the scalp and hair, and it will collect on the comb. For the scalp part, it is also advisable to use a waste credit card or any similar card.
5) Shampoo the scalp and the hair to remove any trace of glue, and then rinse thoroughly. Repeat this step several times, making sure there is absolutely no trace of adhesive or the remover.
Check out our detailed guide on hair system removal and scalp cleaning.
Cleaning Poly Skin Bases
1) Apply citrus oil remover onto the underside of the skin base and allow it to soften the residue for 1-5 minutes.
2) Firmly wipe off any glue or tape traces with a kitchen roll.
3) Shampoo the underside of the system to remove any trace of glue, and then rinse thoroughly. Repeat this step a few times if necessary.
4) Give a wipe with Isopropyl alcohol as a final step before rebonding.
Cleaning Lace Fronts
I personally find it an excellent solution. I call it ‘mirror scraping’. It’s an awesome insider tip.
1) Use any household mirror (make sure it’s big enough — a 1ft square mirror will do), gently press the bottom (the area that needs cleaning) onto the mirror’s upper section.
2) Slide the system toward you, over the entire length of the mirror. Now, you should see that the glue residue has deposited onto the mirror.
3) Wipe the mirror clean using an adhesive remover and then wipe thoroughly with isopropyl alcohol.
5) Repeat this step until it’s entirely clean.
NOTE: It’s advisable to use this solution weekly or fortnightly to avoid heavy residue deposits on the lace — this will ease up the clean-up, and the lace may last longer.
Element 4: Hair Care Techniques
Hair needs to be taken care of at a salon or at home. No need to buy costly and/or specialist products. However, you do need to invest a decent amount of time finding the right shampoo and conditioner for your toupee.
Get them from chemists or online. Be sure that they are paraben- and sulfate-free (these maintenance products will dehydrate your hair and strip color prematurely).
Washing with Appropriate Hair System Tools, Shampoo, and Products
Well, regular washing and correct hair-washing techniques and products must be employed. Hair wash is a must, but at most twice a week. Sulfate-containing shampoo and products must be avoided.
Washing guidelines:
1) Apply a suitable shampoo to the hair without wetting it.
2) Wet hair with lukewarm water.
3) Reapply a little blob of the shampoo, and gently rub the hair (not too intensely). Use a vent brush or a wide-toothed comb to untangle it gently. Be sure to brush the hair in a uniform direction.
4) Rinse, then put on conditioner (paraben- and sulfate-free), leave it for at least 1-2 minutes.
5) Once a week, do a deeper conditioning and moisturizing by leaving the conditioner in for an extra 3-5 minutes.
7) Rinse the hair thoroughly with cold or lukewarm water, ensuring that there’s no tape or glue traces left at the roots, or the hair will soon start to go.
8) Press out excess water and dry the hair with a cotton towel, and leave it to air dry, preferably hang it on a wig stand.
Refer to our short video for brief guidance:
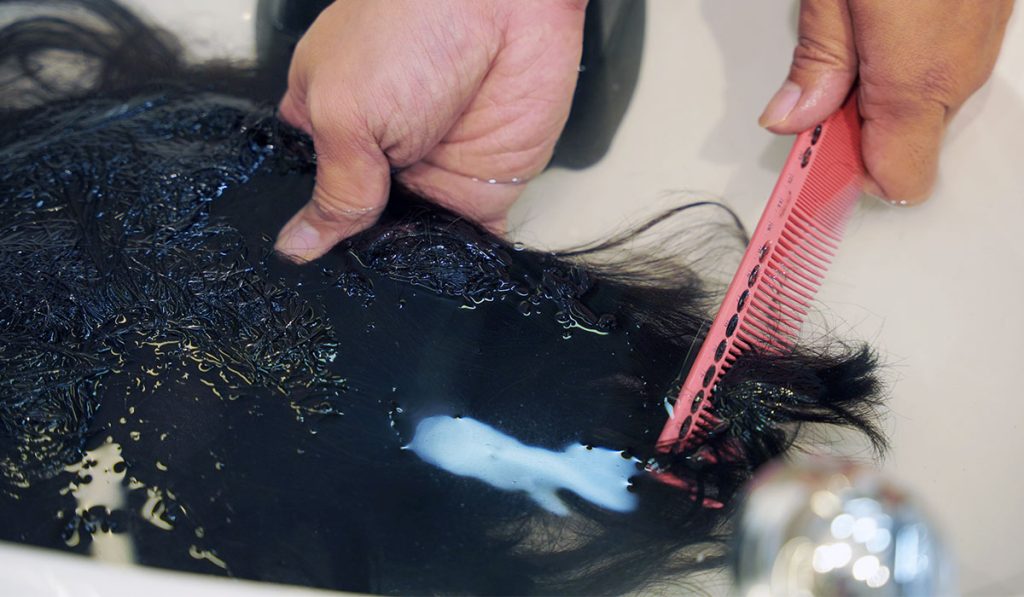
Detangling a Hair Replacement System with Water and Conditioner
Detangling can be done as the first step of the washing or as a separate process.
1) Comb or brush the dry hair, detangling the hair as much as possible.
2) Apply conditioner evenly and leave it for about 10 minutes.
3) Mix a decent amount of conditioner with a tub of lukewarm water and place the toupee in it.
5) Rinse thoroughly, and then apply conditioner again to the hair, and comb it through, untangling it.
6) Soak for another 10 minutes.
7) Rinse it thoroughly, and comb it at the same time, ensuring there’s no tangles left.
8) Dry the hair following the drying step above.
Check out our short tutorial for reference:
Unlike our bio hair, a toupee is not nourished by our scalp oils. Therefore, it is important to condition and moisturize the hair so it remains nice and healthy.
Once a month, deep-condition your hair during washing, leaving the conditioner in for 10-15 minutes. Use deep conditioners, which are available in stores or online.
After washing or showering, apply a leave-in conditioner. This will help moisturize and tame the hair. Or use argan oil, which is equally efficient to keep it smooth and healthy.
Tip: Never Comb or Brush When Wet. Avoid wet combing or brushing, especially for skin systems. Wetness weakens the bond, making it easy to pull strands.
This is how you should wash hairpieces without worrying about shedding.
Element 5: Color Care

Most hair toupees, like over 95% of those offered at Newtimes Hair, are colored to match your client’s hair precisely in shade and tone, especially custom-made toupees.
The color will eventually fade due to oxygen exposure. This doesn’t happen just to toupees, but to bio hair, too. Following the steps below will keep the color vibrant.
- Wash and condition the hair with a color protection product.
- Twice a month, deep condition the hair as indicated in the washing section.
- Spritz your hair often with a UV protection spray when going out in the sunlight. Ideally, wear a hat in the sun.
- Choose products with natural ingredients that are free from sodium lauryl sulfate (SLS) and parabens, which strip color prematurely.
- Apply a heat protector when blow-drying your hair.
- Avoid clarifying products, as they speed up colour loss.
- If your color has faded, you can re-color it using leave-in color conditioning treatments. For more detailed information on this, please contact us.
Tip: Maintaining a hair replacement regularly requires keeping a few hair systems on hand. Rotate among them. When one is being maintained, you can use one of the others. This reduces wear, provided the unused pieces are stored in a clean, dry space. It’s also wise to let the hairpiece air dry between uses.
Wrapping Up About Hair System Care
It can feel like looking after a baby — it needs gentle hands and a bit of patience. Treat it well, and it’ll stay looking amazing for months.
But if the thought of all hair system tips may sound like too much, don’t worry — we’ve got your back. Contact us for a yearly plan and let our partner salons send you fresh toupees throughout the year, while guiding you through every step of the process. Easy, effortless, and always looking your best.
About the Author

Julia Griffiths is a seasoned barber and hair system coach with over 20 years in the industry. Founder of Hair Revival Training, she delivers expert courses in men’s hair systems. You will continue receiving her hands-on insights through Newtimes Hair.
FAQs
How long does a hair system last?
DIY (do it yourself): About $800–$1,500 a year.
That includes a few systems, tape, glue, and products. Some people spend under $1,000 if they reuse supplies.
Hybrid (some salon help): Around $2,000–$3,000 a year. You do most of it yourself, but go to a stylist sometimes.
Full salon service: Usually $4,000–$6,000 a year. That covers new installs and monthly touch-ups.
Most systems last 4–6 months.
Lace bases last longer than thin skin ones.
Most Reddit users spend $1,000–$3,000 a year.
For better understanding, check out our related post on hair system maintenance cost.